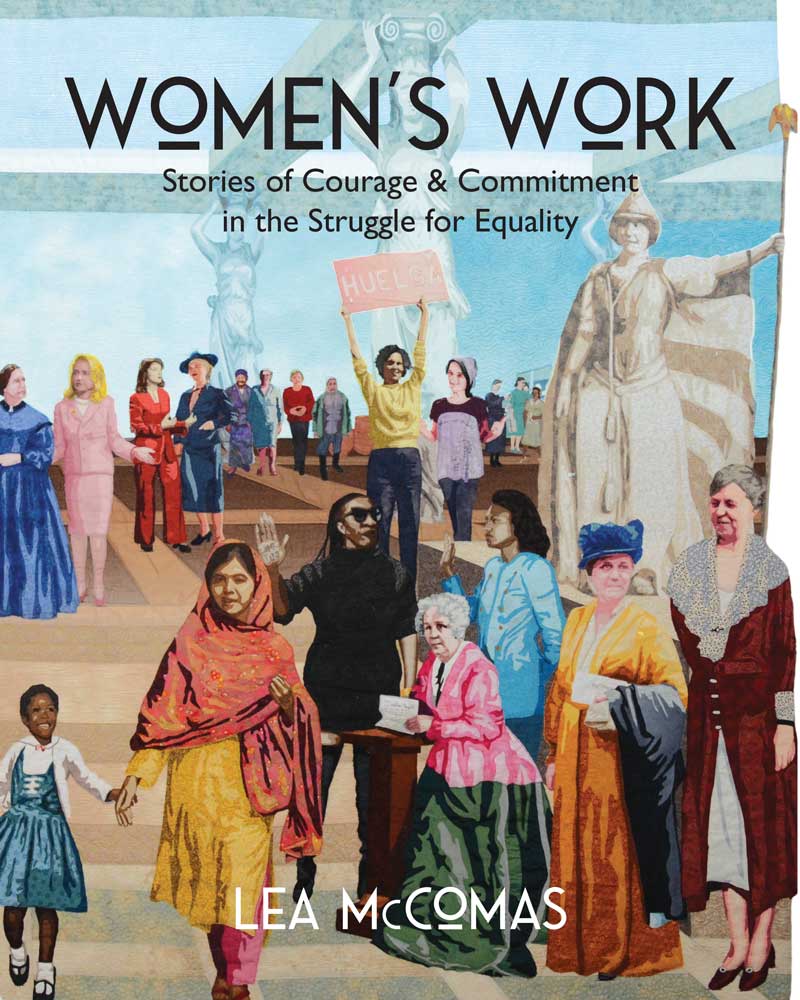
Malala Yousafzai appears on the Women’s Work quilt for her efforts in educating girls. Find her at the center front of the quilt, walking hand in had with a young Ruby Bridges. Together, they represent the long struggle to provide education to those denied based on race, gender, or ethnicity.
Educating Girls: a Family Priority
Malala Yousafzai was born on July 12, 1997, in Mingora, a town in the Swat Valley of northwest Pakistan. Her father, Ziauddin Yousafzai, and mother, Tor Pekai Yousafzai were Sunni Muslims. They named their first child, Malala, after a famous female, Afghan warrior. Malala’s parents vowed to provide their daughter with the same opportunities traditionally allowed only to sons.

Yousafzai school for girls
Malala’s father and grandfather were educators, and her parents valued education for all children. They owned and ran several private schools, some for boys, and others for girls. Malala’s father recognized early on that his daughter had an exceptional mind. He sought to grow her curiosity, and would allow her to stay up after her younger brothers went to bed. They talked about politics and other important issues of the day.
Taliban Outlaws Educating Girls
The Taliban, an Islamic fundamentalist group, took control of the Swat Valley in 2007. They

School destroyed by the Taliban
sought to impose Sharia law, a very strict interpretation of the religious principles put forth in the Quran, and they imposed harsh and extreme punishments. This included bans on many forms of entertainment, including radio and television. The Taliban forbade men to trim their beards, and they executed, or amputated the hands of barbers who performed this service. The Taliban beheaded their opponents and put the bodies on public display. They also banned the education of women and girls.
In January 2008, the Taliban shut down schools for girls and destroyed many of the buildings.
Malala gave her first public speech asserting the importance of educating girls in September of 2008 when she was only 10 years old. Speaking before a regional gathering of newspaper and television journalists, she declared, “How dare the Taliban take away my basic right to education?” She was young, but her work as an activist had begun.
Fierce Educational Activists
Malala’s father was an activist with a strong belief in finding peaceful solutions. He encouraged her to become involved in organizations that promoted educational instruction, encouraged public debate, and journalistic freedom related to social issues. She remained a vocal critic of the ban on education for girls. At age 11, she connected with the BBC and began a blog that described life for ordinary people under the harsh rule of the Taliban. To protect her, this work was published under the pseudonym “Gul Makai,” the name of a heroine of a Pashtun folktale. She and her family could have been killed if her true identity was known.
Malala’s blog ended suddenly in March 2009 when her family was forced to flee the region. Her father spoke out against the Taliban, and in response, they broadcasted death threats to her father over the radio. The family returned to their home later that year, after the Pakistani military was able to push the Taliban from the cities and regain some control of the region.
Attempted Murder
Malala continued to advocate for educating girls through her associations with a number of child advocacy, and female empowerment organizations, and gained international recognition for her work. Archbishop Desmond Tutu nominated her for the International Children’s Peace Prize. Finally, in 2012, Taliban leaders, offended by her words and actions, decided that she needed to be silenced. On October 9, 2012, a masked gunman boarded her school bus, shot Malala in the head, and then disappeared into a crowd.
International Outrage and Support
The event shocked the world and prompted international outrage. Protesters took to the streets in many

Malala with her Nobel Peace prize
Pakistani cities. Celebrities, government leaders,, human rights and women’s groups, from around the world issued scathing rebukes of the attackers. Fifty Muslim clerics in Pakistan issued a fatwa against the men who had organized the attempted assassination.
In response to this, the Taliban released a statement naming Malala a “symbol of the infidels and obscenity” and vowing that, if she survived, they would target her again.
Although seriously injured, Malala did not die. Doctors treated her locally, before transferring her to Germany, and then to the United Kingdom where she received treatment in Birmingham England. She underwent multiple surgeries and intensive physical therapy over the next two years. Eventually, her family also relocated to England for their safety.
Malala Becomes the Educated Woman
Malala could have recovered and faded into relative obscurity, but instead, she chose to continue her campaign for the education of girls. She co-founded the Malala Fund, an organization dedicated to ensuring that girls around the world have an opportunity to learn and become leaders. For her work, she received the Nobel Peace Prize in 2014. At age 17, she became the youngest recipient of this award. Malala completed high school in England and went on to study at Oxford. She completed a Bachelor of Arts degree in Philosophy, Politics, and Economics in June 2020. It is not safe for her to return to her home country of Pakistan. There are still many Taliban supporters and sympathizers that would seek to harm her. Now, she has become a citizen of the world.
Malala Fund for Educating Girls
For Malala, educating girls continues to be a priority. The Malala Fund supports education advocates and activists who are challenging the policies and practices that prevent girls from going to school in their communities. Some examples of their work:
-They are using technology to give Syrian refugee girls access to classrooms they are not allowed to physically attend. They are also working to reduce child marriage.
-In Nigeria they are helping girls living under the threat of Boko Haram complete their education.
-In Brazil, they are ensuring schools reach the most marginalized girls. And they are training young women to speak out for their rights.
-In Pakistan, they continue to fight for education funding that will guarantee 12 years of school for girls.
My Personal Take Away…

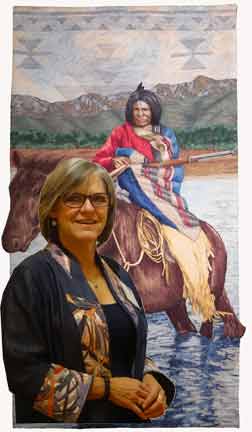
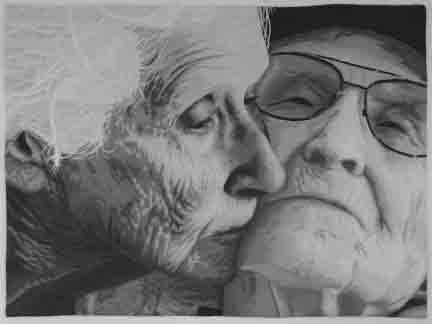
Malala, by Lea McComas, 30″ x 50″, 2019.
I’ve been a teacher for almost 40 years, and I know firsthand the power of education. I love how the actions of the men who sought to silence Malala, actually, amplified her voice so that she could be heard around the world. I celebrate Malala for standing up to her oppressors, and for the journey she has taken since that fateful day on the bus. In 2019 I was invited to make a quilt for the Better World quilt exhibit celebrating heroes working for the greater good. I chose Malala as the subject of my quilt and included one of my favorite Malala quotes, “With guns you kill terrorists, with education you kill terrorism.”
You can be a part of this important global movement for women’s equality. Please visit Malala.org to see how you can be involved.
See the Women’s Work Quilt
The Women’s Work Quilt will debut as a featured work in the exhibit Women’s Voices, Women’s Votes, Women’s Rights, at the Clinton Presidential Library, in September 2021. Look for more details on the Events page of this website.

 My goal is present enough new content, information, tools, and ideas that everyone, no matter
 presented in each Color & Composition 1 lesson. This could be something simple that uses one of the concepts presented, or something more complex, with multiple concepts applied. We will begin sessions 2-6 with show & tell time where we learn from each other and celebrate creative efforts.


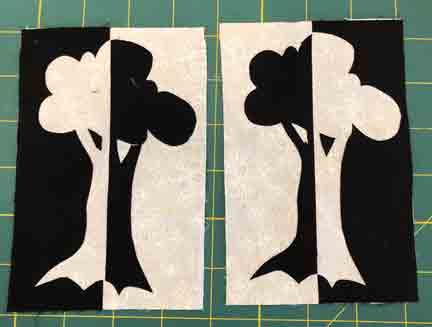
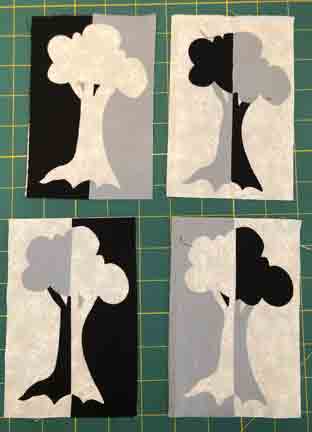
 Next, I convert each image to grayscale mode so that I can impose my own color scheme (more on that in a future post). Sometimes, elements of similar value begin to blend together, so I use the pencil tool to draw in important lines that have disappeared. In this case, I needed to outline the mountain lion to keep him separate from the rock and the foliage. Because they were darker values, I used a white line. However, sometimes, a black line is more effective.

 stitching skills.
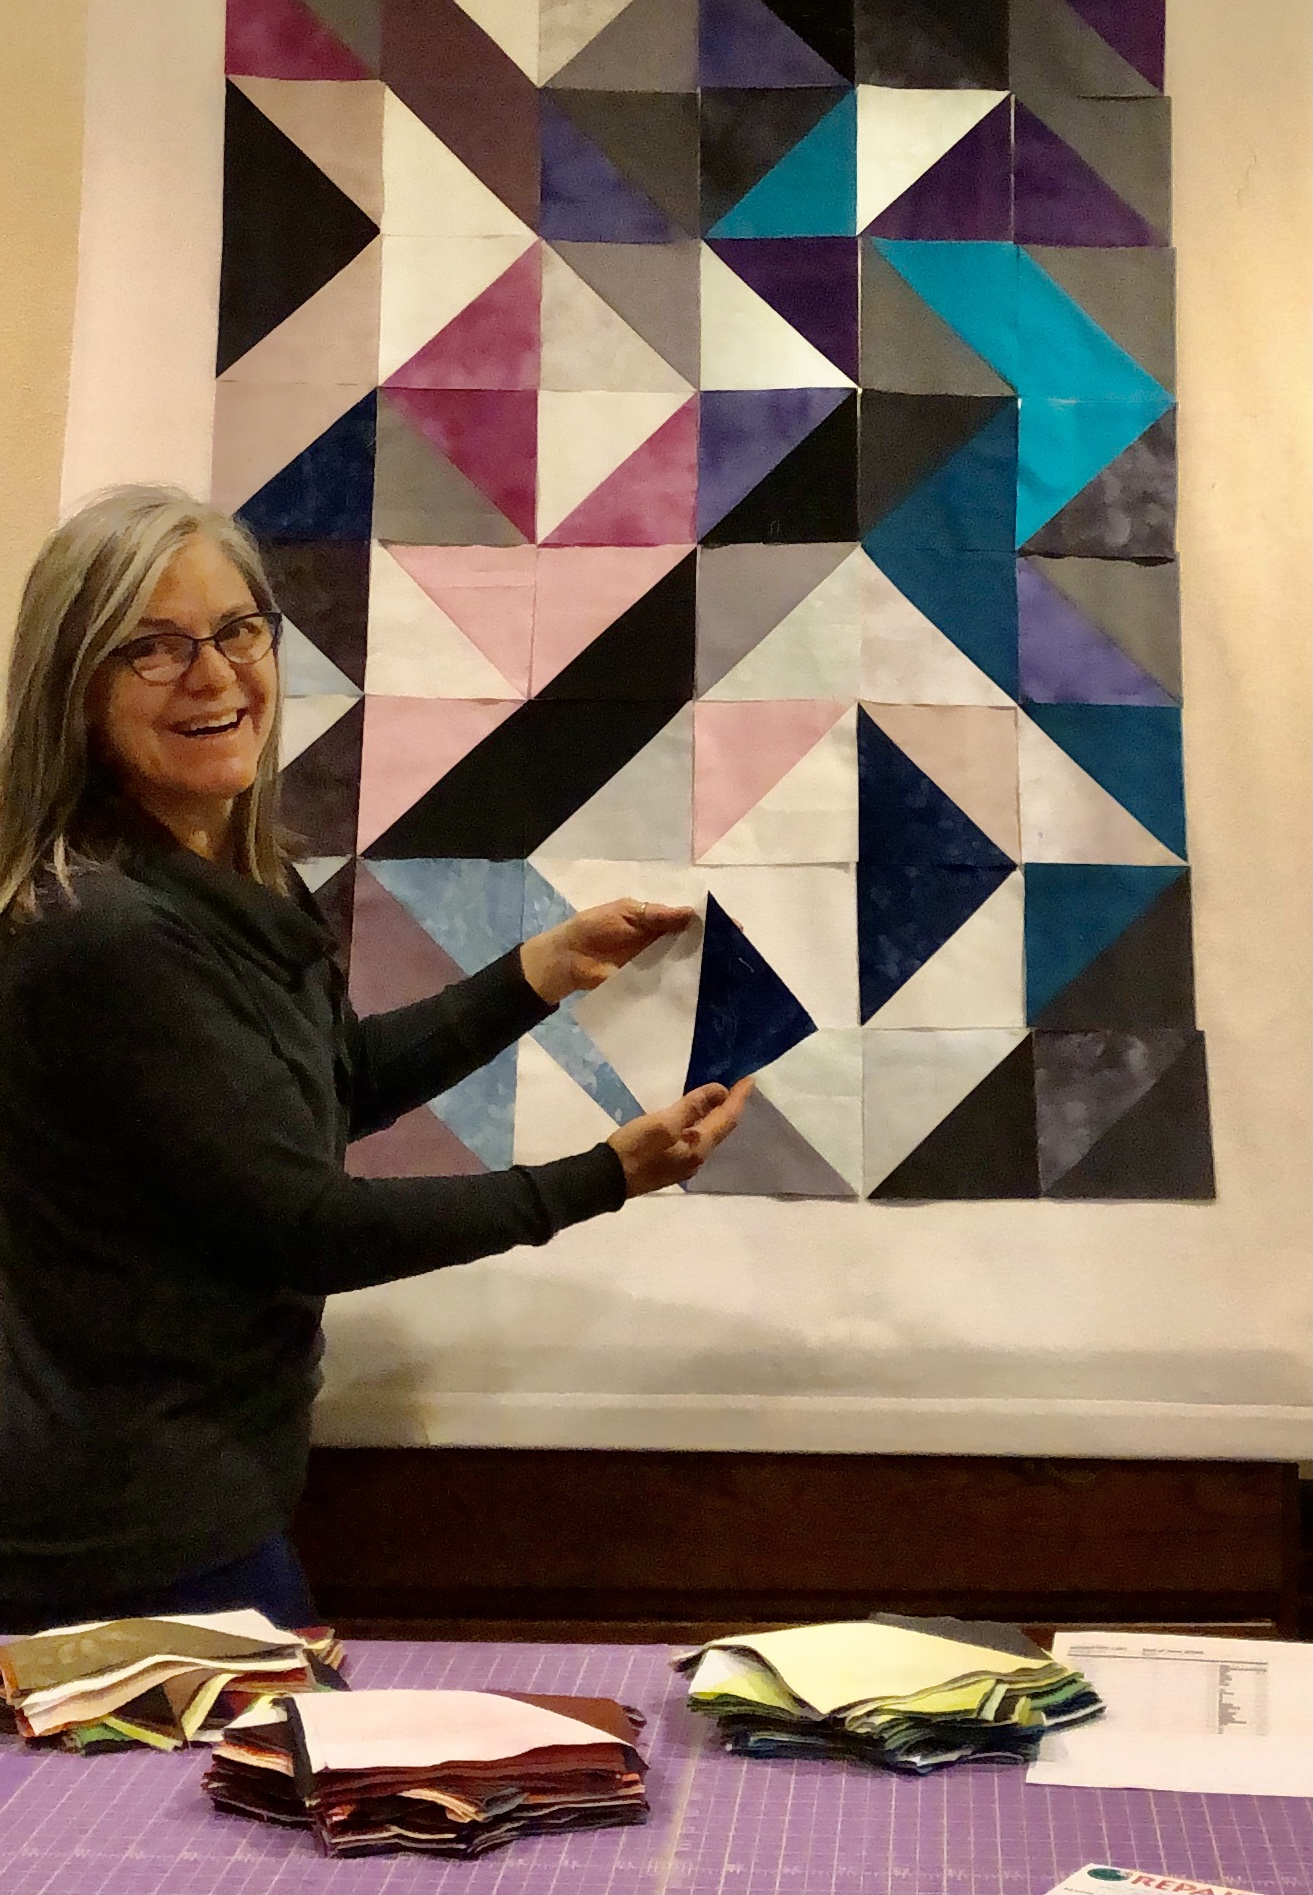 -Learn to use color with confidence by gaining an understanding of color theory and elements of composition.
 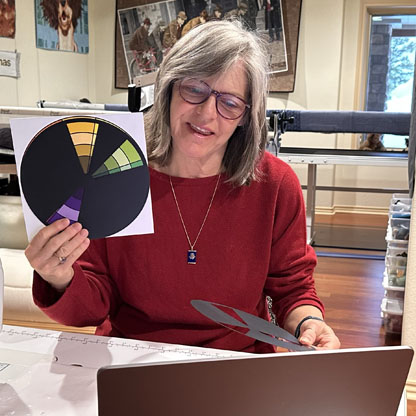 your creative process related to color, design, composition, or execution.