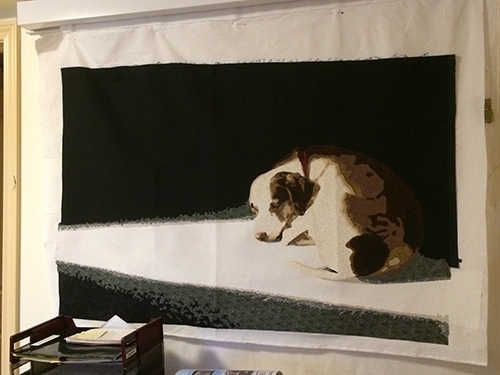
A Loyal Beast

Bosco Standing Vigil
I’m sure you have heard, or know of a real life example, of a dog that sits and waits, keeping vigil, for his master’s return. Recently, I noticed that when my husband leaves the house, my dog, Bosco will sit by the door to the garage and patiently wait for his return, often several hours. When I attempt to coax him away from the door to sit with me, he refuses. Sure, this is very sweet in one respect, but it’s also very distressing. I always thought I was his favorite. Anyway, it is this kind of devotion that inspired my new piece, “Vigil.”
Alone in the Abyss
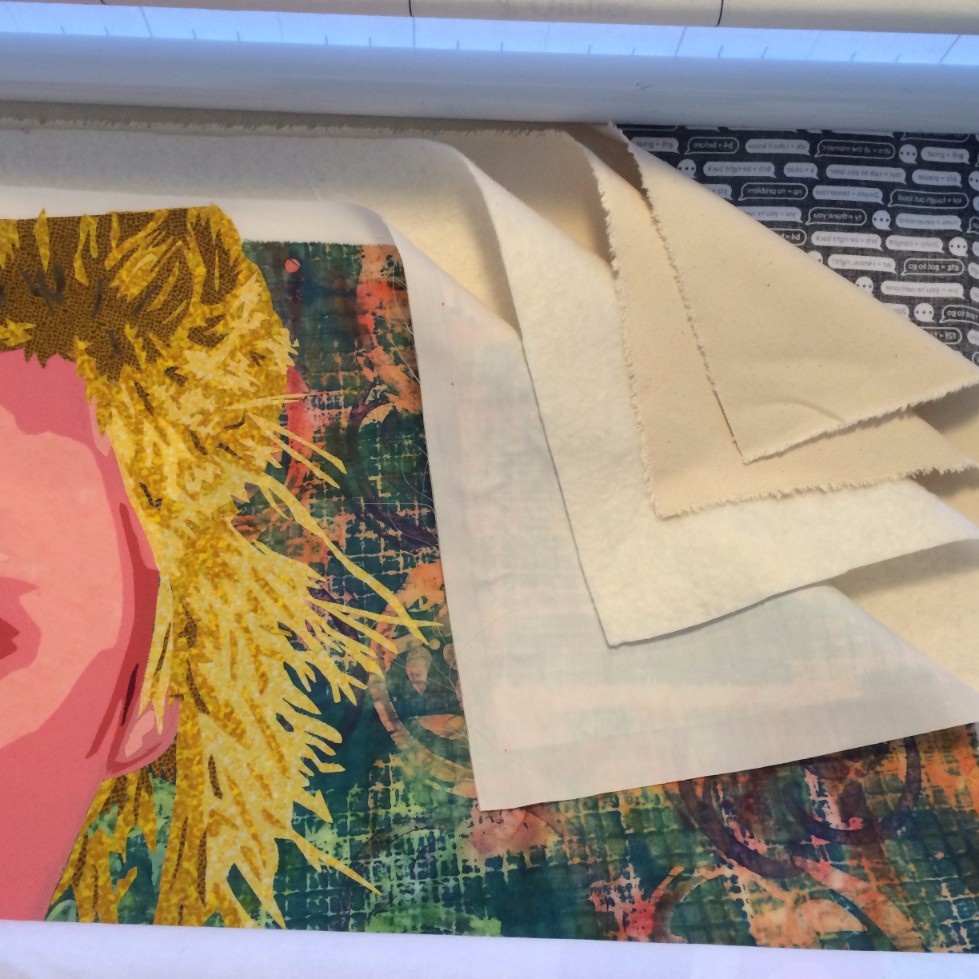
 In preparation for taping my Pet Portrait Memory Quilt class, I put out a call for cute pet photos and received one from a teaching colleague that captures this unselfish devotion. Immediately, I was drawn to the juxtaposition of light and dark and how it helped to conjure the image of the lonely dog laying, waiting, and ever hopeful of the return of a loved one.
Potential Energy
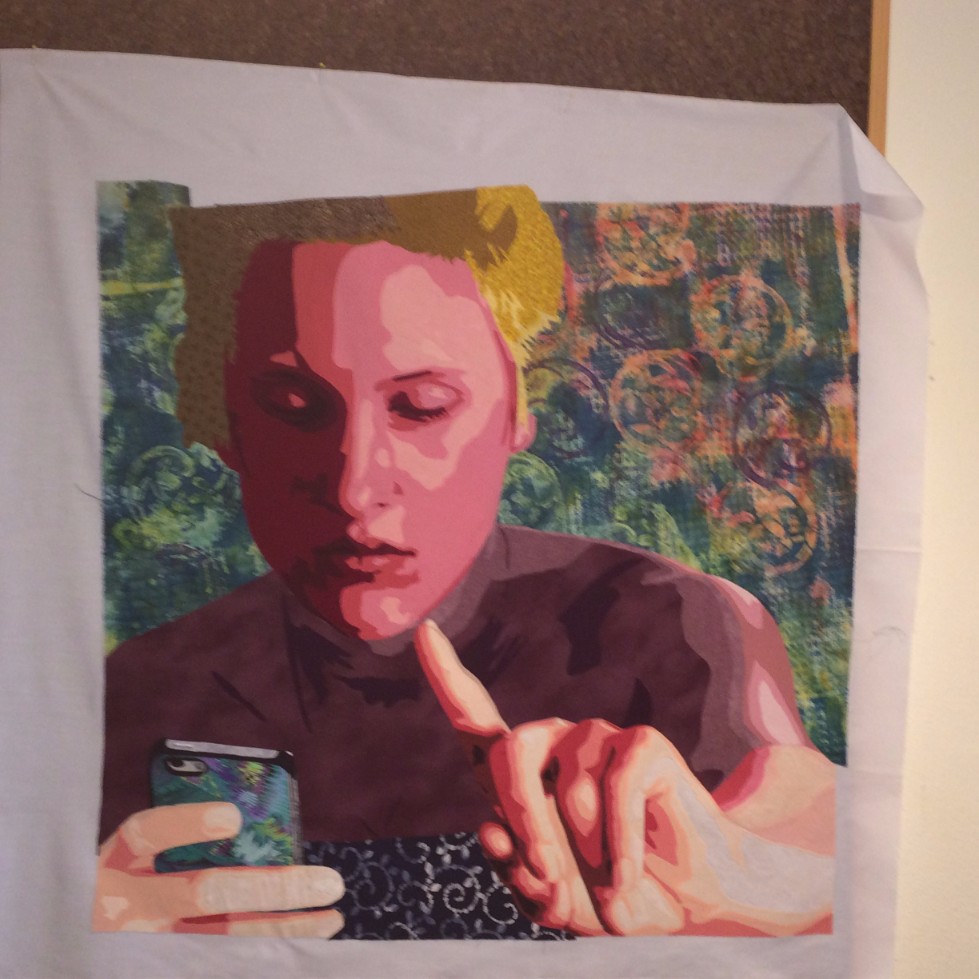
Another compelling feature of this composition is what is best labeled ‘potential energy’. You just know that a frenzy of barking, jumping, wagging is about to be unleashed as the door opens and the dog awakens. Truly, I can think of few things more uplifting than unbridled enthusiasm simply because of your presence in the room. What about you?
The Back Story
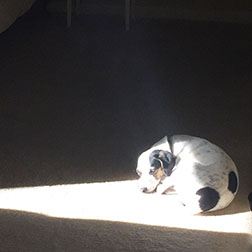
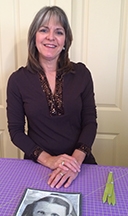
Stella in the light.
Stella is the dog who inspired this piece. She wasn’t actually laying in wait. She loves to sleep in the sunlight coming in a window. A careful look at the original photo shows the legs of the dining table and chairs. I interpreted the image in an entirely different way. Days later, when I told my colleague what I saw in the picture, she was very surprised.
PS: He loves me too.
Finally, I spoke to my husband about Bosco’s devotion to him and my jealousy. He assures me that Bosco does the same when I leave.
Vigil is the second in my series of Dog Stories. The first in the series was Puppy Love.
Next week, check back to see how things are progressing.