The tail is too big for the longer frame.
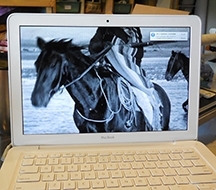
A you may recall, when I first loaded both of the horsemen panels on the longarm frame, the tail of the right panel hung off the edge. At the time, I chose to ignore this and deal with it another day. That day came.
The beginning of the solution involved removing both panels and reloading them one at a time. This move actually solved two problems. Thread painting the first horse caused that panel to draw up, in turn, making the second panel too loose on the frame. The initial reason for loading both panels at the same time was so that the backgrounds could be stitched together, creating some continuity across both panels. With that done, it is now obvious that that the panels will be completed one at a time.
With the second panel off the frame, I add extensions to the backing and batting. When it is reloaded, I use clamps to hold that extension tight and in place while the stitching is completed. (sorry, forgot total a photo)
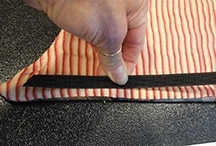
Boning to stiffen the tail
The next problem to be addressed is how to keep the tail from curling back or flopping forward when it is on display. That solution comes from the notions department of my local fabric store: polyester boning, typically used to give shape to a dress bodice.
This piece was finished with an artists facing, rather than a binding. A strip of the boning was stitched into the bottom edge of the tail extension, then covered with the facing. This seems sufficient to keep it in place.

Horse tail finished.

Cover up with facing