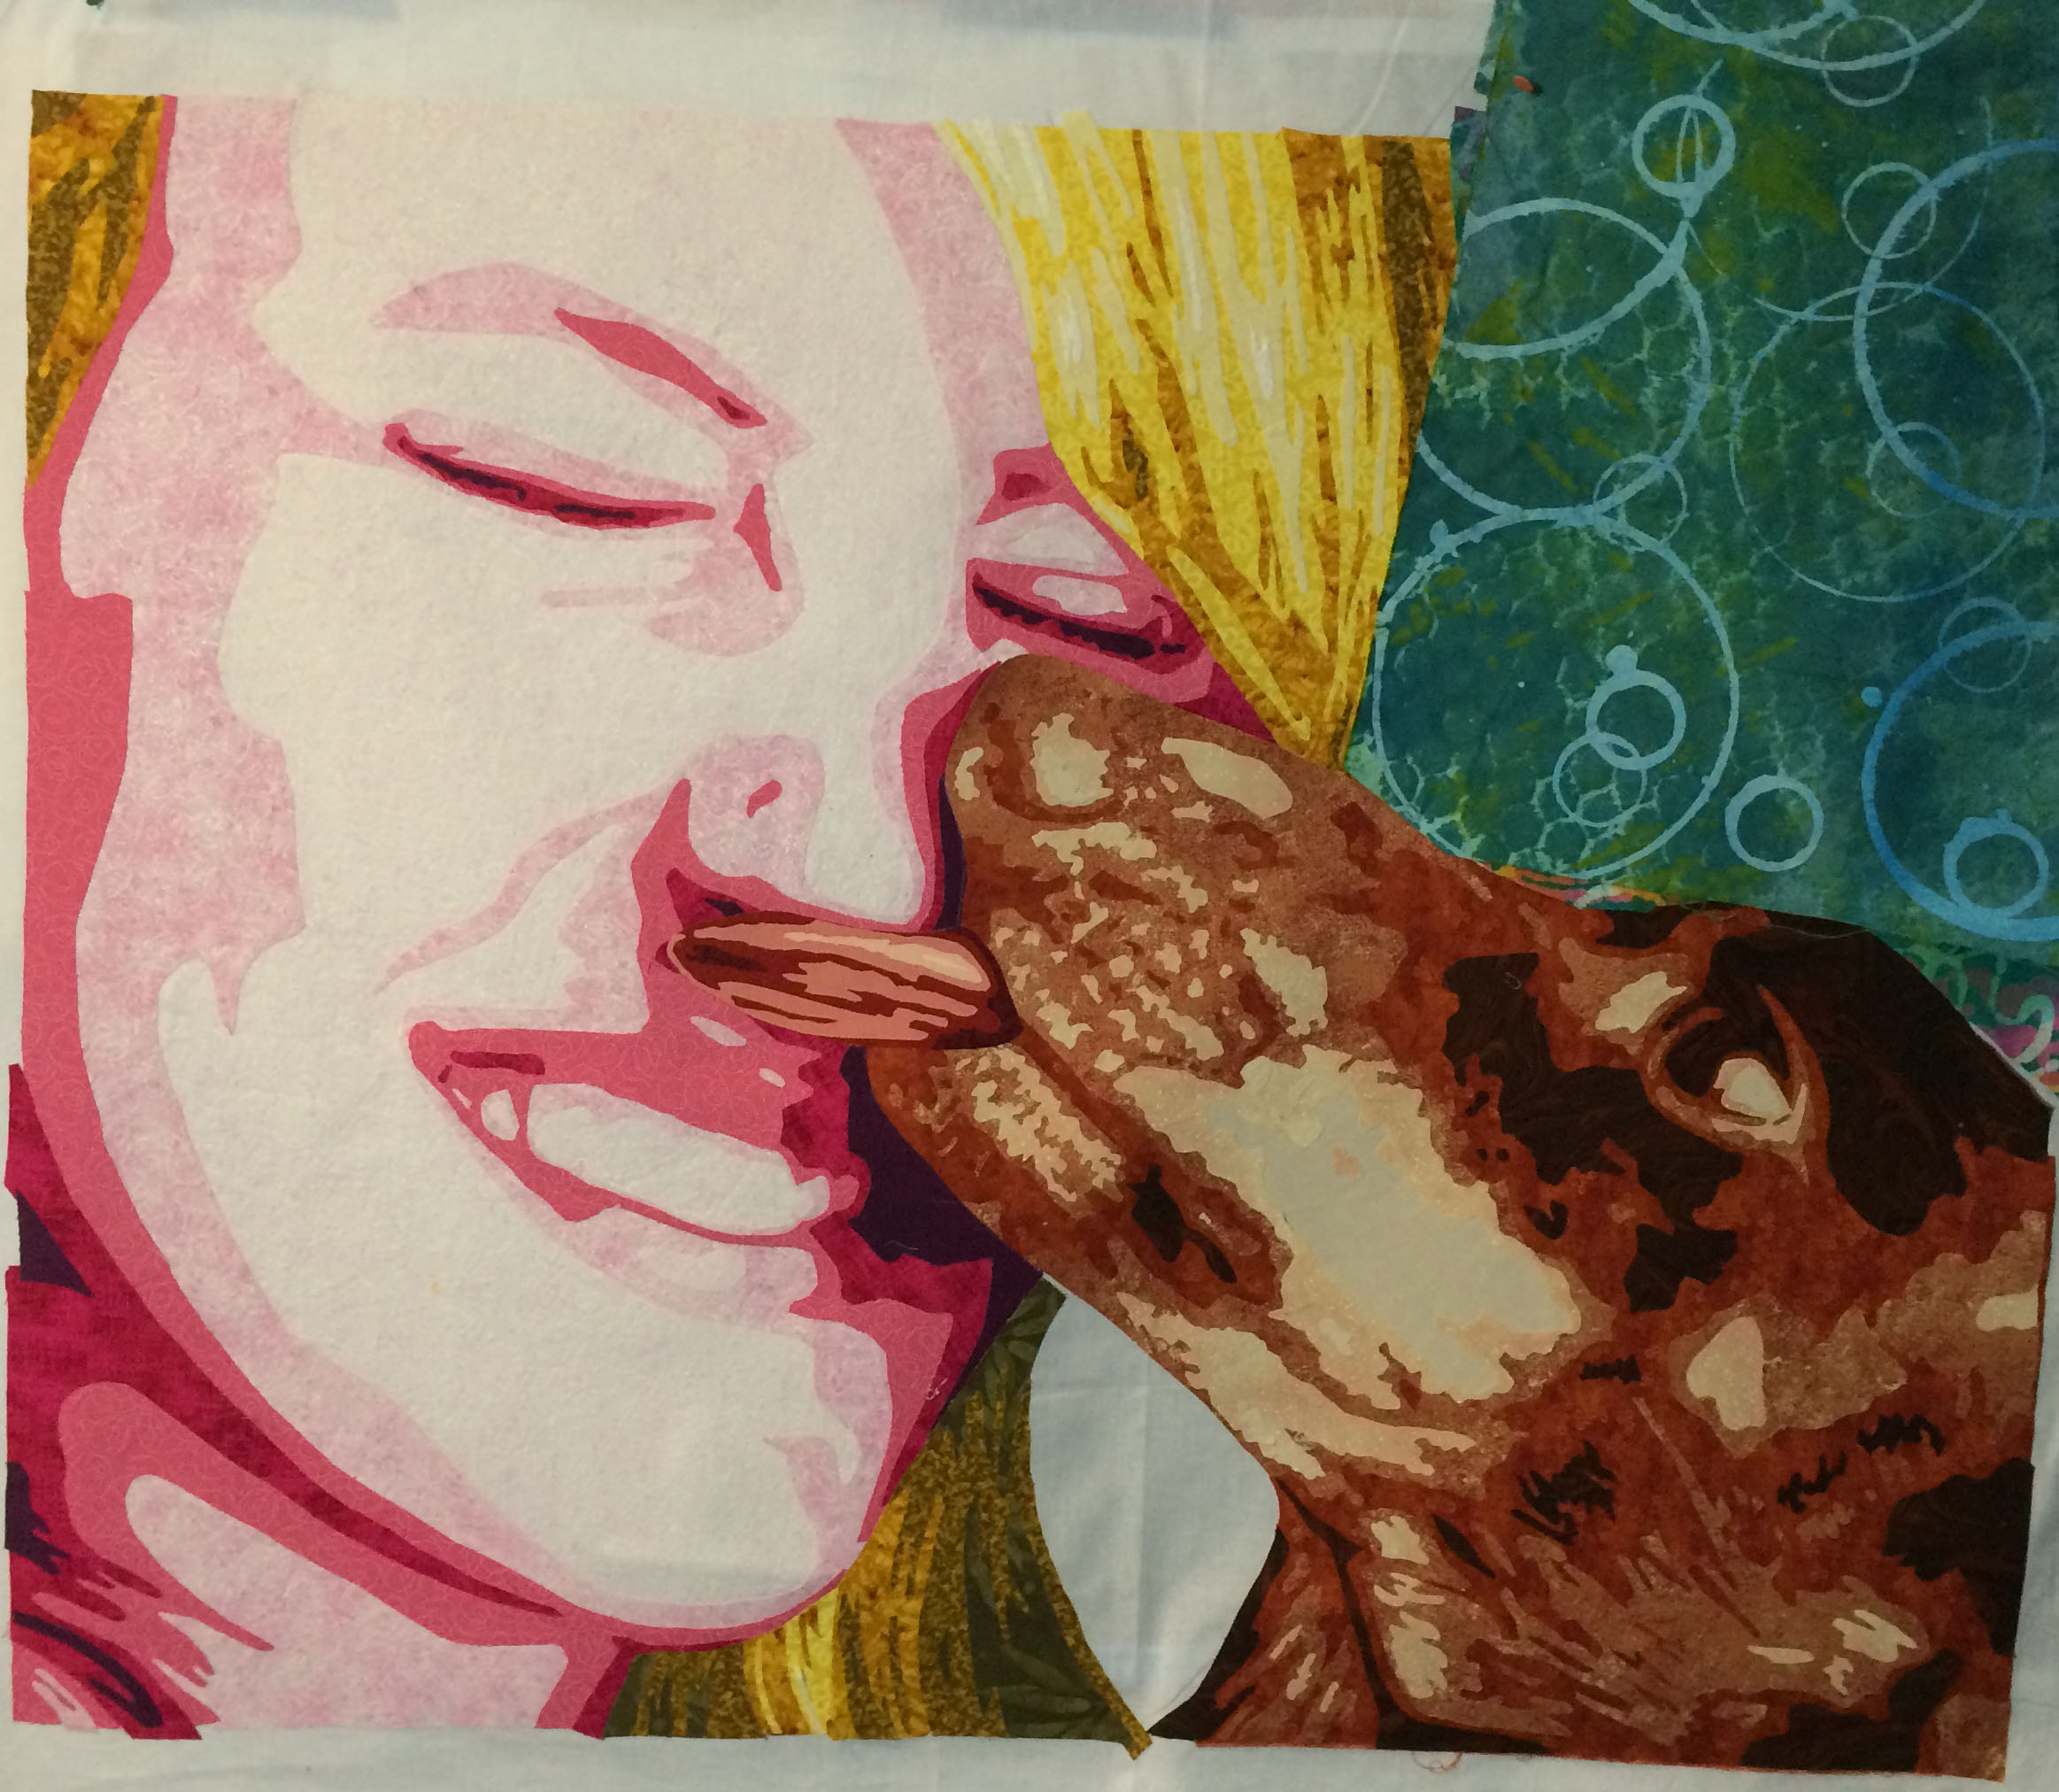
Category Archives: In the Studio

Puppy Love, Part 1

Maya & Coco

Maya’s selfie

This week I’ve jumped back into my art with gusto.  I’m tired of being on hold. I need to be creative!!  With a 4-day weekend and plans to pack and move postponed (again!) it was time to make up for lost time.

4" x 6" thread painting.

4″ x 6″ thread painting.


This past week has been devoted to making a piece titled “Puppy Love”.  I’ve done smaller versions of this piece in the past for small art auction donation pieces, but this one is big and bold.

It started with a selfie taken by my step-daughter, Maya with our little dachshund, Coco.  While previous versions were printed on fabric and thread-painted, this one is raw-edge fused appliqué and 30″ x 40″.

My color scheme is an analogous run of yellow-orange, orange, red, red-violet.  This kind of scheme tends to be calm and mellow, so, to punch it up, I threw in some blue-green.color scheme

A couple of marathon work days, and the piece was nearly completed.  Selecting the background fabric had me stalled for day as I just couldn’t decide.  I took audition photos with my phone and toggled back and forth between the shots until I was able to make a decision.

Background option 1

Background option 1

Background option 2

Background option 2


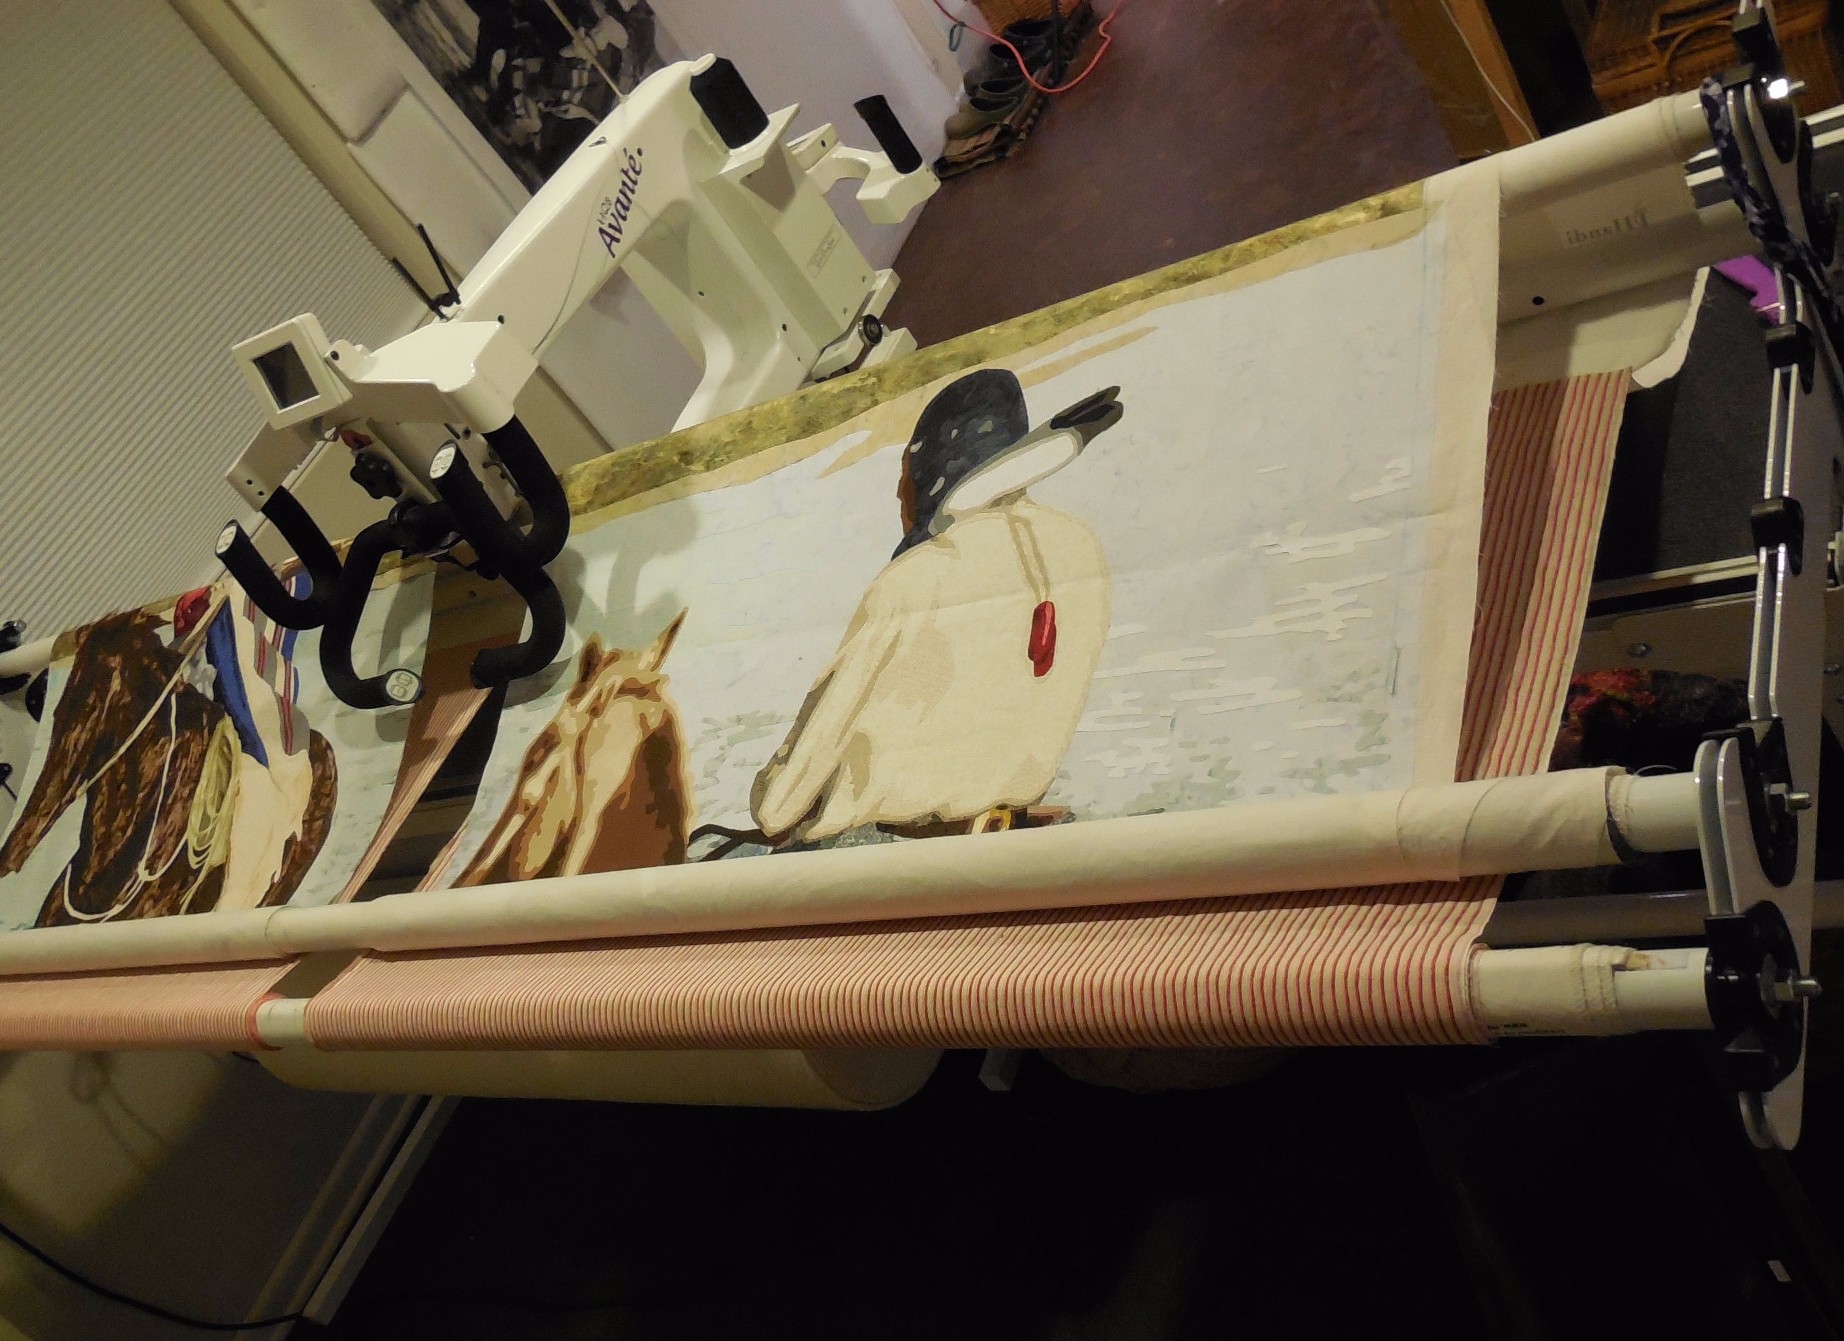
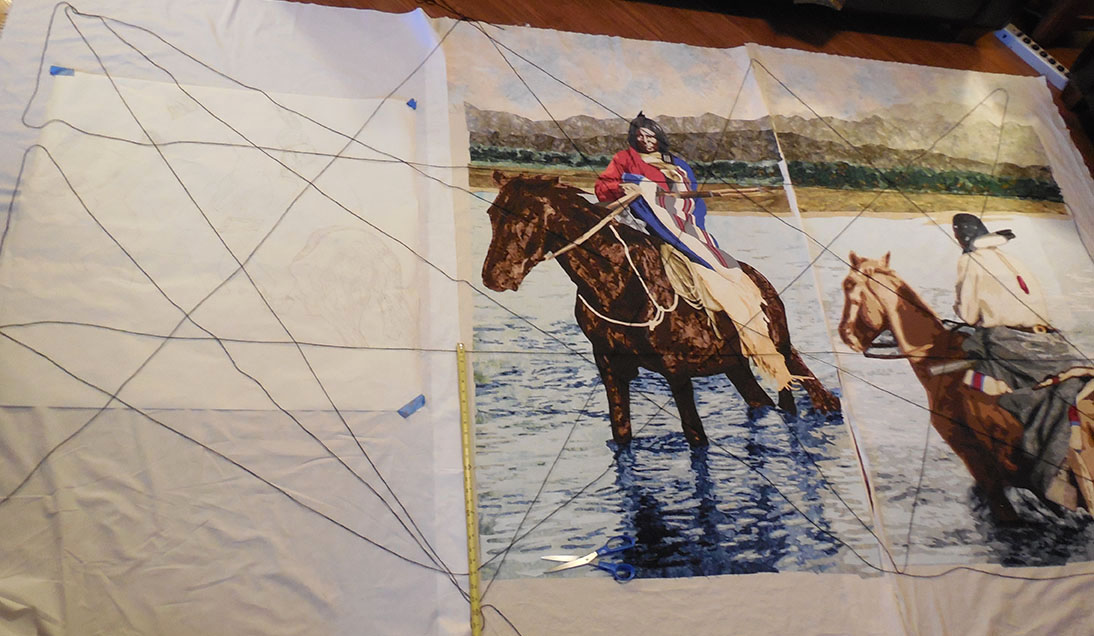
Now, it’s on to the stitching.  I’m going to try something new and will share that with you next week. Check back in next week.

Share

Let the Stitching Begin

My apologies for being away from the blog for several weeks.  I’ve been desperate to get back on schedule with the horsemen so that I can finish them within the month, and any time spent writing is time I’m not stitching.  So, stitching I’ve been doing.  I did have the presence of mind to snap a few photos as I went along and I’ll share some of those below.

Before I get to the Horsemen, I want to share 2 bits of info:

1. I recently taped an episode of TheQuiltShow.com.  It is being aired today for those that subscribe, but next week I’ll send out a link for friends and family to view the episode for free.  I’ll post a link here on the blog, and on my Facebook page.

2.  My friends at QuiltForChange.org haver come up with a new challenge: Water is Life: Clean Water and its Impact on the Lives of Women and Girls around the World.  The exhibit will open at the UN headquarter in Geneva in January 2016. Entries due by November 1, 2015 If you want to quilt for a cause, you should check this out.  Here’s a link to their website: Quilt for Change Challenge

Now, to the horsemen…2 on the frame

With 2 panels to be stitched, I want to be sure that there is some continuity between them, especially in the background.  It should appear to flow from one panel to the next. I’m afraid that if I work one, then the other, I may not match up the right  threads or the lines of the composition won’t flow, so I’ve decided to put load both panels on the longarm frame together.  This turns out to be a little trickier than I thought it would be.  There is a lot of extra attention to be given to how tightly things are wound (the quilt layers, not me personally)  All was going well until I got Too Much Tailto the bottom of the second panel.  It would seem that I too much tail.  One of my horses hangs off the end of the frame.

I’m moving forward and I’ll figure how to deal with this later.


Just as I’m about to get started, I decide that the sky is to plain, it needs a little pizzazz, but what??In the Sky

I decide to create an overlay of a blanket motif over the top.  It can’t be too strong.  I want it to be a secondary design that support, not overwhelms the overall composition.  To do this, I draw out a design on paper and the cut the pieces out of tulle; light, medium and dark blue tulle.  I put fusible on one side and lightly iron the pieces in place before placing a very thin layer of champagne colored tulle over the entire piece.


Share

The Tangled Web

I’ve managed to get the first two panels of my 4 Horsemen triptych fused together and have come to terms with the reality that I will not get the 3rd panel finished in time for my May deadline. I will make the 3rd panel—someday—maybe in the summer.

Before I can begin stitching, I must to do some planning and prep work now if the three panels are to fit together later. Toward that end, iI want to make sure that each panel works individually AND in concert with each other.

Panels side by side

Panels side by side

Here is the process:

  1. Lay the panels side by side. (Panel 3 is just a large sheet of muslin)
  1. Mark the corner points and 1/3 marks along each side.
  1. Run a line of string string between each of these key points.

In doing this, I can accurately place lines of the riverbank, foothills, mountains, and place the final riders in just the right position. Additionally, this web of string creates a grid for identifying key lines and points of intersection within the piece.

Here is my dilemma: the whole thing is way to large to fit on my design wall. The best I can do is clear the floor in my family room and lay out the panels. Unable to pin into the hardwood floors, I’m left to lay the string on the floor and they won’t stay put.  They are continually shifting as I move things around under them.  Eventually, I do get a sense of how things are laying out.

I see some good things going on in the right panel:

Lines o the right panel

Lines o the right panel

  • A diagonal goes down the face, hits the shoulder, belt buckle, then follows the line of the tail
  • Another diagonal follows the line of the neck, a crease in the blanket, and the shadow of the back haunch.
  • The lower horizontal connects the reins, rifle, and blanket fold


In the center panel:

Lines on the center panel

Lines on the center panel

  • A diagonal connects the hand, a stripe of the blanket, a line of rope, and then runs down the back leg
  • Another connects the eyes, bottom of the rope and follows the tail.
  • The lower horizontal runs along the belly of the horse


In the left panel:

Lines on the left panel

Lines on the left panel

  • I place the horses in the center between the horizontal strings
  • Diagonals from the upper left corner will fall along the head and back of the horse and also connect the nose, chest and stirrup.
  • I also sketch in lines for the background so that it will all come together in the end.


Doing this on the floor stinks! Every time I move something, I have to reposition the strings.   To make things worse, my trusty companion, Coco, has her own ideas about the placement of these strings.   I love her, but I REALLY don’t appreciate her design sensibilities.

Coco tries to help

Coco tries to help

Share

The 2nd Horseman

The horse's patooty is coming off the edge.

The horse’s patooty is coming off the edge.


I’m back at work on the second panel of the 4 Horsemen.  The first dilemma is getting the scale correct. This figure, originally, behind the central figure, will now be in from of him, so he’s got to appear larger. It took some trial and error, but I finally got the size right.  I like an irregular edge, so I’m going to hang the horse’s patooty off the edge.


Continuous background

Continuous background

The key with this composition is to keep some key elements consistent across both panels.  In this case, it is the lines of the background.  As they continue from one panel to the other, they create a cohesive composition. I’m loving this.


Willis to the rescue.

Willis to the rescue.


I’m nervous about the pace of my work being slow, and am considering reducing the scope of this piece to 2, rather than 3 panels.  I really love the title and “The 2 Horsemen” doesn’t have the same appeal. So, when my parents stopped in to visit on their way to ski country,  I put my dad to work in the studio fixing the rollers on one of my chairs.

Share