Tag Archives: art quilts

Vigil is Finished. See This Endearing New Work

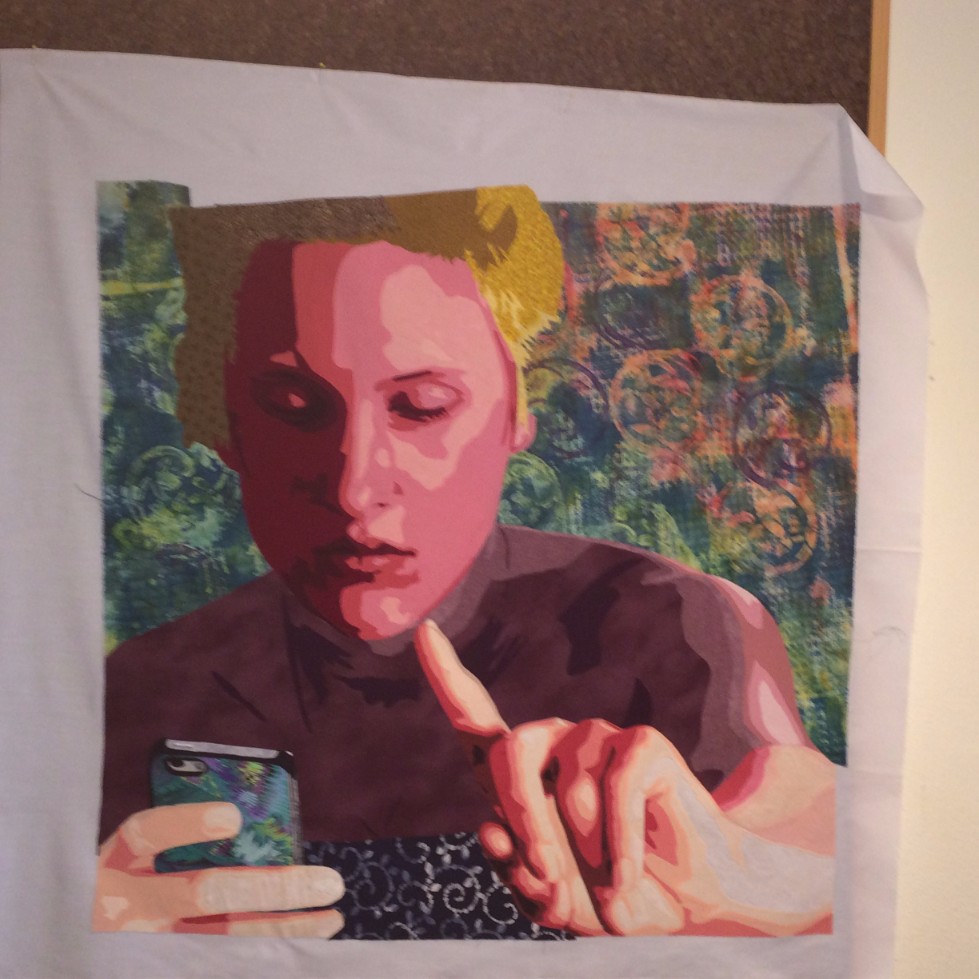
It is exciting when a new work is completed. Vigil is finished and I’m thrilled with the results. It’s been photographed and added to the Genre gallery on my website. However, in this week’s blog, I want to share some of the details.

The lonely dog, a faithful companion, lies, waiting, and ever hopeful of the return of a loved one.

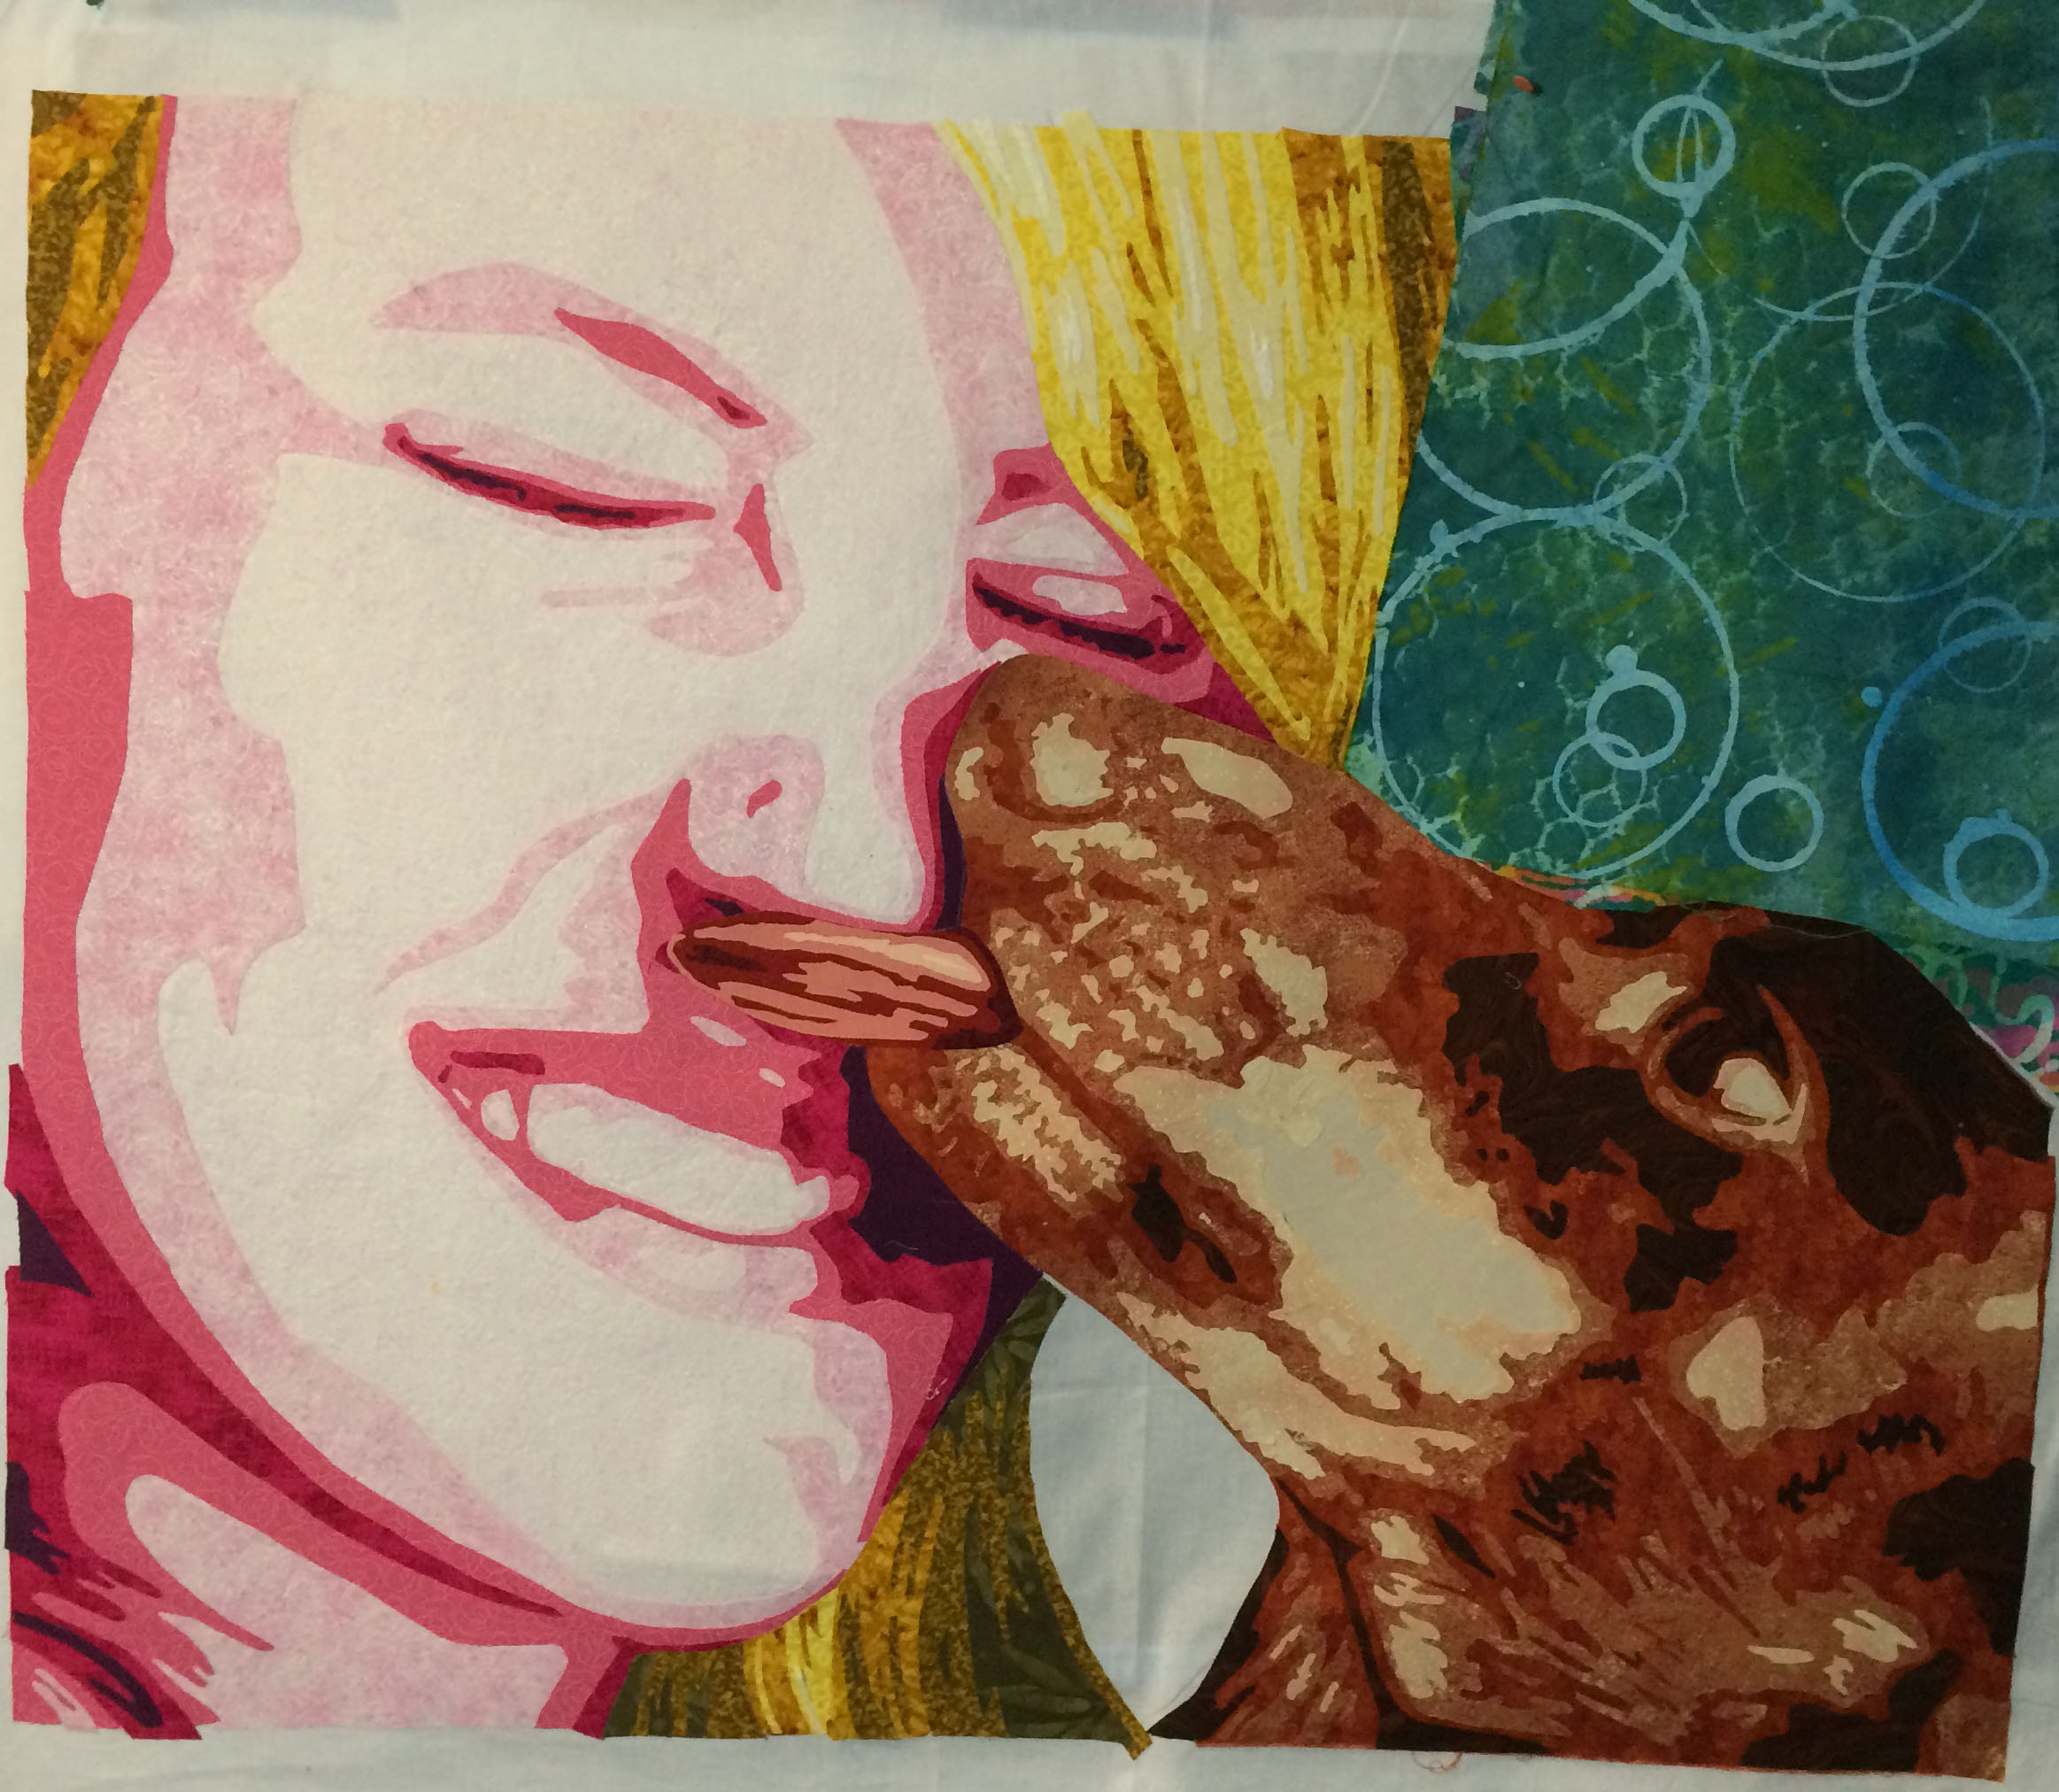
Vigil: Stitching the Dog

One challenge I faced in stitching the dog was to get the direction of the hair just right.  Stella, the dog in this composition, is similar to my own dog, Bosco.  So, anytime I was uncertain about the direction I should be stitching, I would sneak up on Bosco as he napped and use him as my reference.  Of course, he would wake up and expect to be held and petted in return for his services.

Lea McComas Fiber Art - Vigil detail

Detail of dog hair

Lea McComas Fiber Art - In the Studio

When you ask Bosco for help on a project, he is all in.


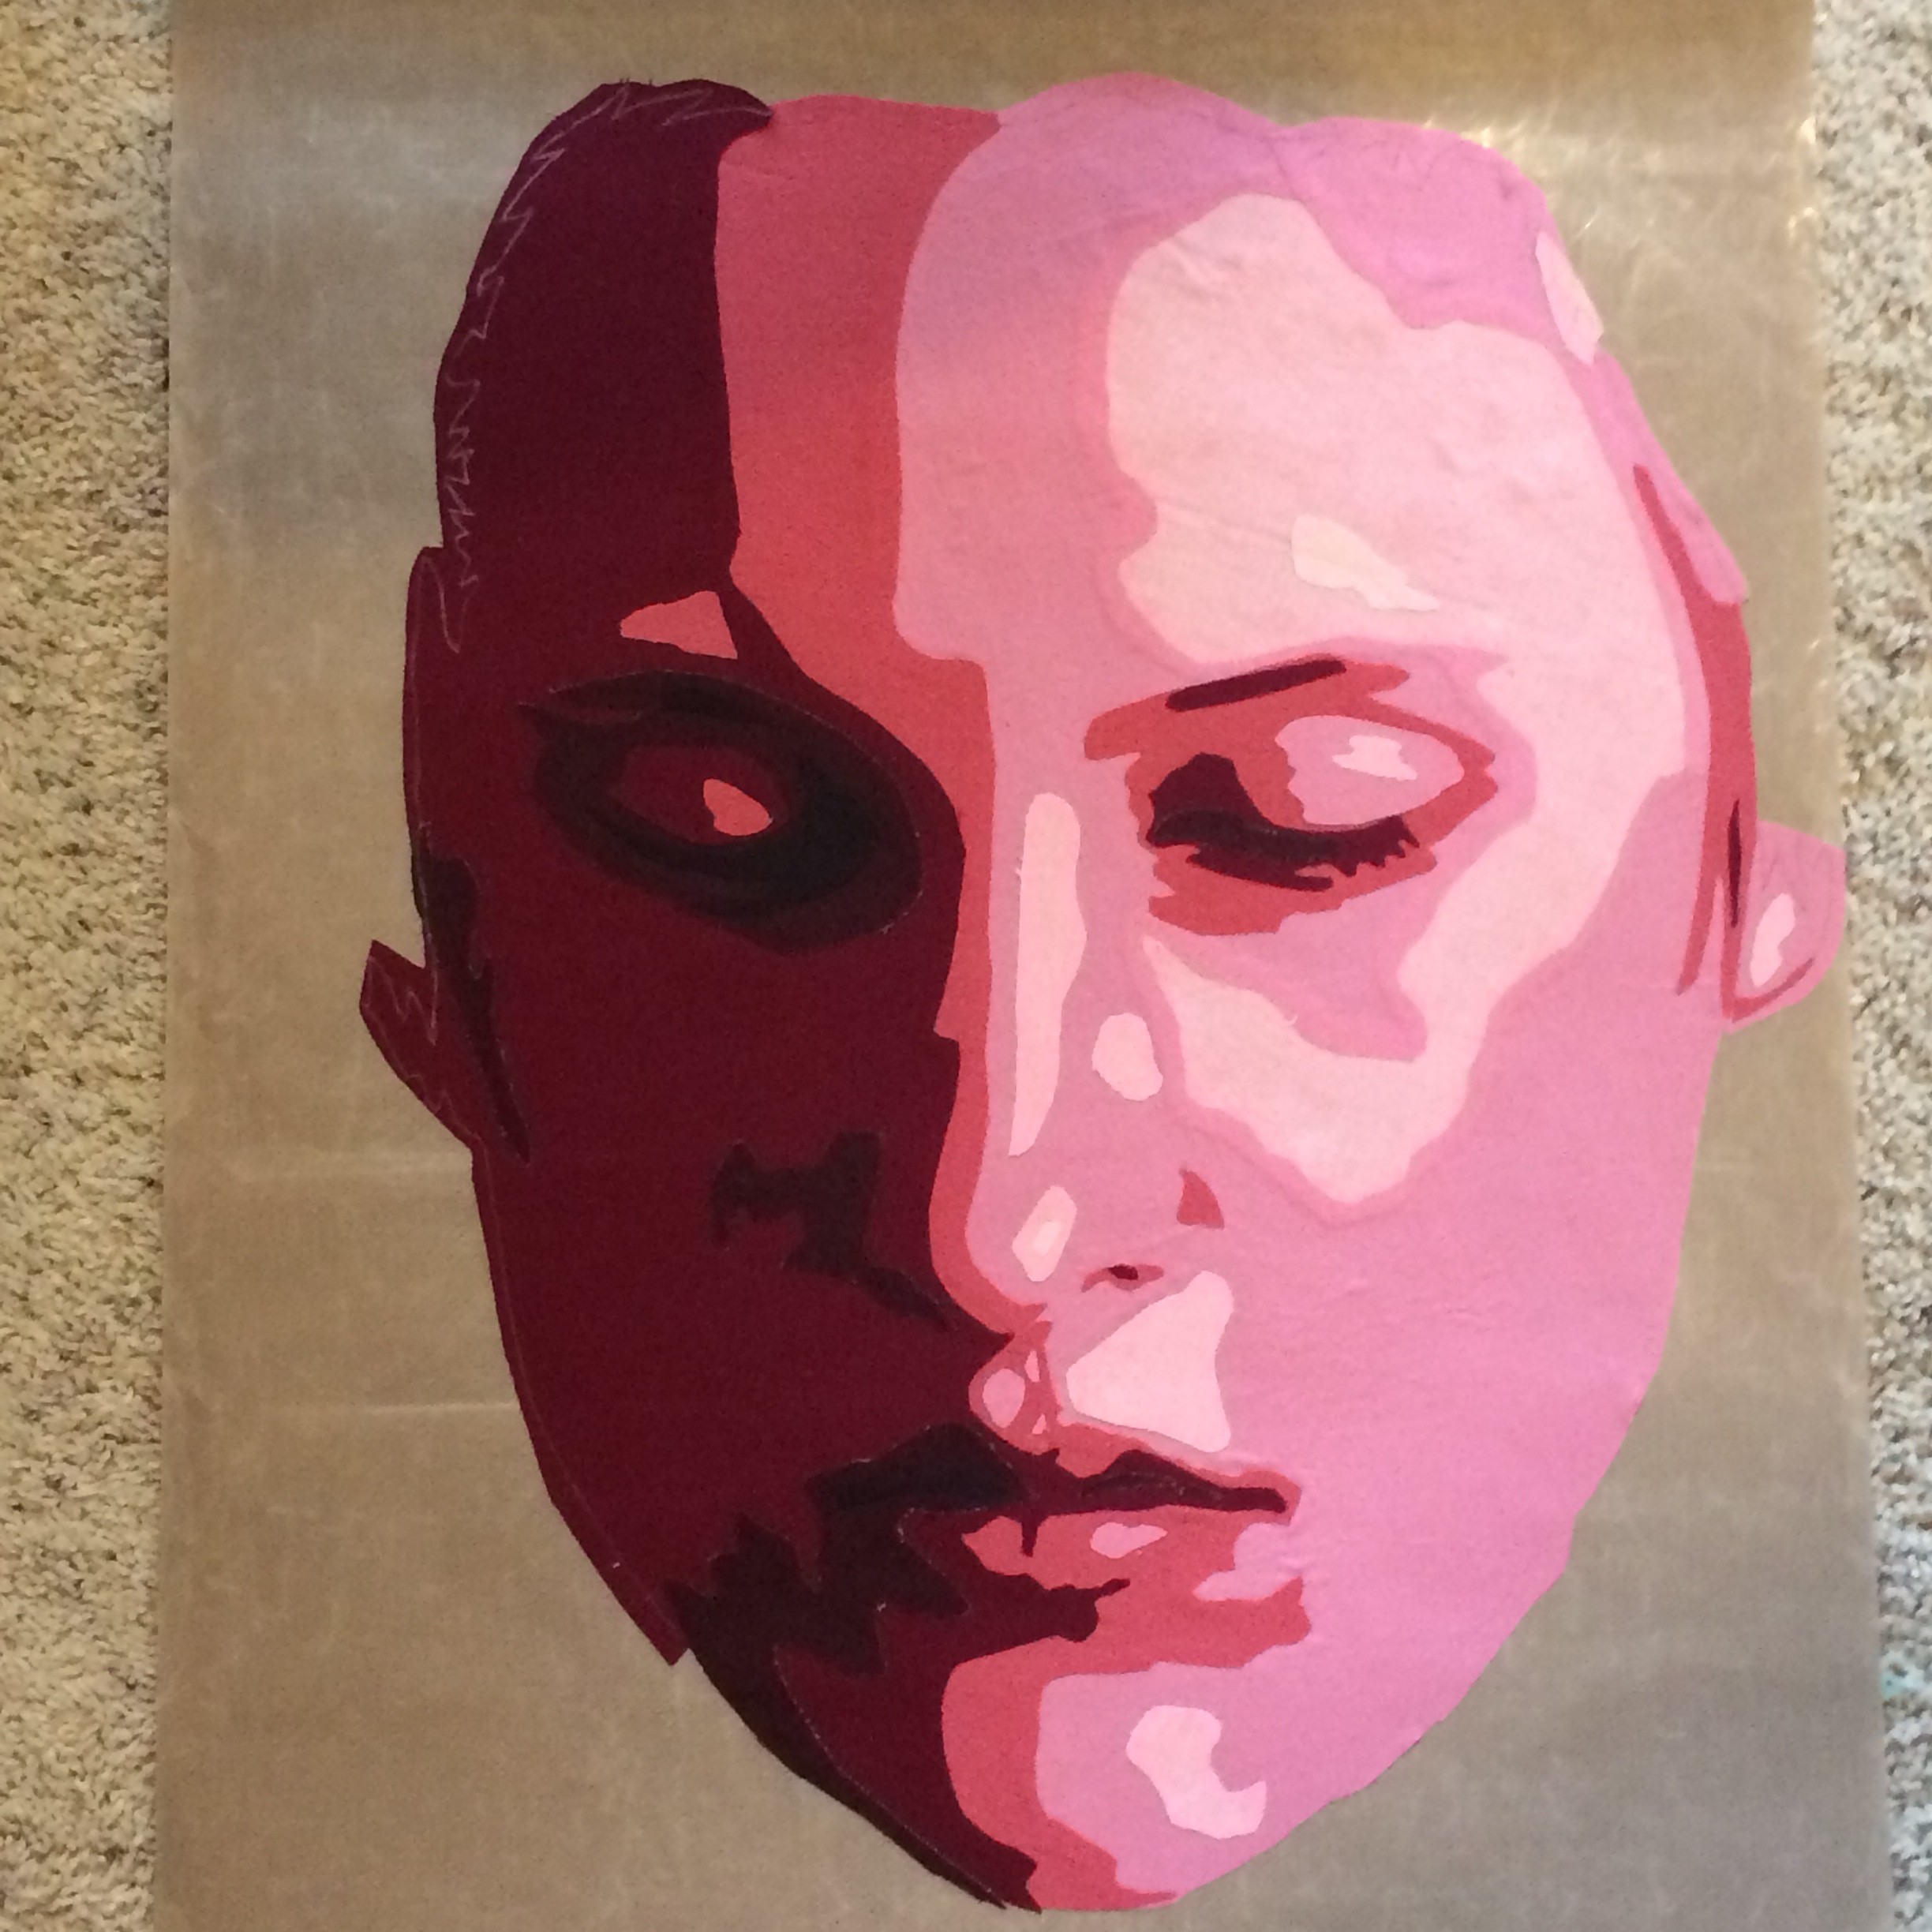
Vigil: Creating Depth

Lea McComas Fiber Art-Vigil

subtle value changes create feeling of depth

Another challenge was to give a sense of foreground and background.  For this, I rely, as I often do, on value changes. It is very subtle, but the black fabric used at the lower edge is slightly lighter than the dark fabric used for the upper part of the composition.  This subtle contrast was  enhanced with the thread choices in the stitching phase.  As a viewer, you may never consciously notice the changes, but the image will register in your mind as having depth.  Also, creating a broader field of gray below the white band brings that area forward.


Vigil: Stitching the Background

Lea McComas Fiber Art-Vigil detail

Subtle changes in thread and stitch design hint at what’s behind.

A final challenge was to add variation and subtle detail to the very large dark background area. I wanted to give the impression of a floor with a wall in the distance, but didn’t want to get too specific on where one transitioned to the other, and also wanted to maintain the feeling of a dark abyss.  For this, I employed a circular stitch design for the carpet, and an elongated vertical stitch pattern to represent the wall and then varied where I transitioned from one pattern to the other.  I also used two threads in this area: a solid black in the area around the dog, and a variegated thread of very dark values as I stitched further away from the figure.

In the end, I think this resulted in a very sweet piece that will be hard to part with. However, plans are already being made to exhibit this piece. When things finalize, I’ll let you know.  For now, visit the Genre Gallery of my website to see some of my other works.  You may notice another new work, Cruisin’.  I’ll be sharing the story of this piece in the weeks to come.

Share

Finally, Finished Fusing

Yes, Finally, all of the body pieces are working together and creating the depth of field that I’m looking for.  With the face in place, I add some hair.

Helmet Hair

Helmet Hair

Yuck, that hair looks a bit too much like a helmet, but I’ll fix that when the background is in place.  I rehearsed several fabrics for the background and settled on a piece that I made a few years ago in a dye/print/paint surface design class that I took with Susan Brooks in Louisville, CO.

Periodically, I take a class that is out of my comfort zone, just to learn some new things and  get a fresh perspective.  That was Susan’s class.  I came home with lots of interesting pieces of fabric with no idea what would ever come of them.

Dye class fabrics

Dye class fabrics

more dye fabrics

more dye fabrics

How happy am I to find the perfect background in that stash of “experimental” fabrics.

Background ini place

Background ini place

Now, back to that hair….

more-hair

This is better.  Phase 1: Fusing is complete.

Share

Body Work

I’ve reached a place with my latest piece where I need to finalize a color scheme before moving on.  So far, I’ve only chosen fabrics for the flesh.  As I put these various body parts together, I’ve got to fill in the other elements of the composition (ie. dress, phone, background, hair.)  I use my Itten Color Star to work this out.

Color Scheme

Color Scheme


This Color Star is my favorite color wheel for making these kinds of decisions.  It comes with a full set of templates that let me block out colors I don’t want to use and let’s me get a better sense of what colors I will be  incorporating.

The hair is going to include yellow and yellow-oranges, while the phone will be blue-green, and her dress will be blue.

No decisions on the background yet, I’m going to put the figure all together and let it talk to me (or perhaps text me).

This week I’m able to complete the body along with the hand holding the phone. I’ve dipped into my special stash for the phone.  It is made from some hand marbled fabrics I picked up in Venice back in the 90’s.

A body to go with the hands

A body to go with the hands

Placing the face with the body, I have a real sense of progress.  I’m not sure about the darkness of the upper body, but I’m going to move forward.  I’ll audition some background fabrics before I decide whether or not to replace the body with lighter values.

A face with the body

A face with the body

Share

Talk to the Hand

The fusing has begun.  This week I was able to put together the hand for “We Don’t Talk”.   It is created from warm red-orange flesh tones that I hope will pop off the surface and give it a real “in your face” feeling.  For greater realism, I’m working with 7, rather than my standard 5 values.

The hand

The hand

Next, the face emerges from those cooler red-violet fabrics.  You can begin to see that there is a significant contrast in the temperature of these 2 features.  I hope it works as planned.

The face

The face

I’m liking the detail in the eyes and mouth.

Next week I hope to fuse the body and put the pieces together.

Share

Making Faces All Summer Long

As a school teacher, I love summer vacation as much as my student, maybe more.  For me, it’s a chance to spend more time showing my fiber art, talking about my process, teaching my techniques, and of course, making thread-painted portraits.

This summer was no exception.  Check out this photo travelogue”

Thread-Painting workshop in Colorado Springs:

We made mouthsLook what I did!


5-day Summer Retreat in Lyons, Colorado:

Portraits on Parade

Portraits on Parade

Fused fabric portraits in Wichita, KS:

Teresa does Grandbaby

Blue dog in progress

Jo's self portrait


A quick visit to Longwood Gardens with Cheryl Lynch after speaking to the Calico Cutters guild in Philadelphia, PA:


And a mini-workshop and gallery lecture in Brigham City, UT

Brigham City Workshop

But the fun doesn’t stop…  There are more opportunities in the fall.  Join me if you can:

Workshops in LaConner, WA and Fort Collins, CO. See my “Upcoming Events” for more details


Share

Let’s Make Faces

Look what I did!

I hope you are enjoying a beautiful summer: picnics, camping, swimming, baseball…

But, when you are ready to come in, cool off, and do something creative, I invite you to join me in a portrait quilt class or workshop.  There are spaces open in these locations:

CraftU Courses are once again open for registration: 

 August 13 – Brigham City Museum, Brigham City, Utah.

Jo's self portrait

Jo’s Self portrait

September 30-October 2, 2016 – Quilt & Fiber Arts Festival, LaConner Quilt & Textile Museum, LaConner, Washington

October 15-16, Jukebox Quilts Store, Fort Collins, Colorado

Portraits on Parade

Portraits on Parade


“Portrait Quilt Workshop” Sat-Sun, October 15-16, 2016. Call (970) 224-9975 for more information.

January 19-22, 2017, Road to California Quilter’s Conference, Ontario, California

Share

Puppy Love, Part 2

Oh joy!!! I’ve finished something in less than a month; 2 1/2 weeks actually.  It’s such a thrill to jump into a project and just breeze through to the end.  With this piece, I took a break from thread painting and just did some dense stitching.  The new challenge was to establish some designs that would fit with each element of the composition.

The blonde hair of the girl was easy.  I used various values of yellow threads in long, undulated lines of stitching.

PL hair

Next, similar, but shorter, wavy lines were put down with some variegated threads in a pattern that alluded to the hair of the dog.  Several times I had to stop and pet my dear Coco’s face in order to really understand the changing direction of her hair.  She didn’t mind too much.

PL dog

Stitching the face was a leap of faith.  It is so tricky to stitch the face!  If you try to recreate the actual contours, and the lines aren’t just right, it throws off the perceived shape and makes the face look distorted.  I decided to go in a completely new direction: loop-d-loops.  I covered the entire face in a small repetitive design that had nothing to do with its shape or contour.  I still varied the threads, letting the values do the work.  I’m really pleased with the results.

PL face

The background was the most troublesome decision, just as with choosing the fabric.  The print was complex and busy.  Afraid that it would become too strong and overpower other elements, I didn’t want to stitch the printed design.  I came up with a wandering ribbon design with a tiny meandering stitch to fill in the spaces.  I feel like the 2 patterns of the fabric and stitching sort of neutralize each other and take away their power to dominate.

PL background

Finally, here’s the finished piece.Puppy Love

Share

Puppy Love, Part 1

Maya & Coco

Maya’s selfie

This week I’ve jumped back into my art with gusto.  I’m tired of being on hold. I need to be creative!!  With a 4-day weekend and plans to pack and move postponed (again!) it was time to make up for lost time.

4" x 6" thread painting.

4″ x 6″ thread painting.


This past week has been devoted to making a piece titled “Puppy Love”.  I’ve done smaller versions of this piece in the past for small art auction donation pieces, but this one is big and bold.

It started with a selfie taken by my step-daughter, Maya with our little dachshund, Coco.  While previous versions were printed on fabric and thread-painted, this one is raw-edge fused appliqué and 30″ x 40″.

My color scheme is an analogous run of yellow-orange, orange, red, red-violet.  This kind of scheme tends to be calm and mellow, so, to punch it up, I threw in some blue-green.color scheme

A couple of marathon work days, and the piece was nearly completed.  Selecting the background fabric had me stalled for day as I just couldn’t decide.  I took audition photos with my phone and toggled back and forth between the shots until I was able to make a decision.

Background option 1

Background option 1

Background option 2

Background option 2


Now, it’s on to the stitching.  I’m going to try something new and will share that with you next week. Check back in next week.

Share

Fused Applique Portrait Class

My Fused Applique Portrait class at CraftU begins March 7. There is still time to sign up. Here’s a link if you are interested:

Fused Raw-Edge Applique Portraits

https://www.craftonlineuniversity.com/courses/fused-raw-edge-applique-portraits

 Here are some samples of portraits done with this technique:

portrait-Jim Lea applique portrait

Share

Is Your Face in the Right Place?

I’ve just finished a new piece titled “Simple Pleasures”.  It features a young boy named Indigo who is celebrating his 6th birthday and is thrilled with his new plastic horse.  How wonderful to find such pleasure in something that has no bells, whistles, screens, login, or even batteries.

In this weeks video, I show you how to check the size, location, and dimensions of facial features so that the face looks realistic and well proportioned.

Golden Mean Calipers Pt 3: Facial Features

This piece was a chance for me to try a bolder color scheme.  I like the energy and vibrancy of it. Below are process photos to show how the piece came together.

Face and Hands

Face and Hands

Shirt and shorts

Shirt and shorts

Horse in Hands

Horse in Hands

Thread-painted face

Thread-painted face

Finished piece

Finished piece


Share