Look what I did!
I hope you are enjoying a beautiful summer: picnics, camping, swimming, baseball…
But, when you are ready to come in, cool off, and do something creative, I invite you to join me in a portrait quilt class or workshop. There are spaces open in these locations:
CraftU Courses are once again open for registration:
- “Fused Raw-Edge Applique” begins August 1, 2016.
- “Thread-Painted Portraits” begins September 26, 2016

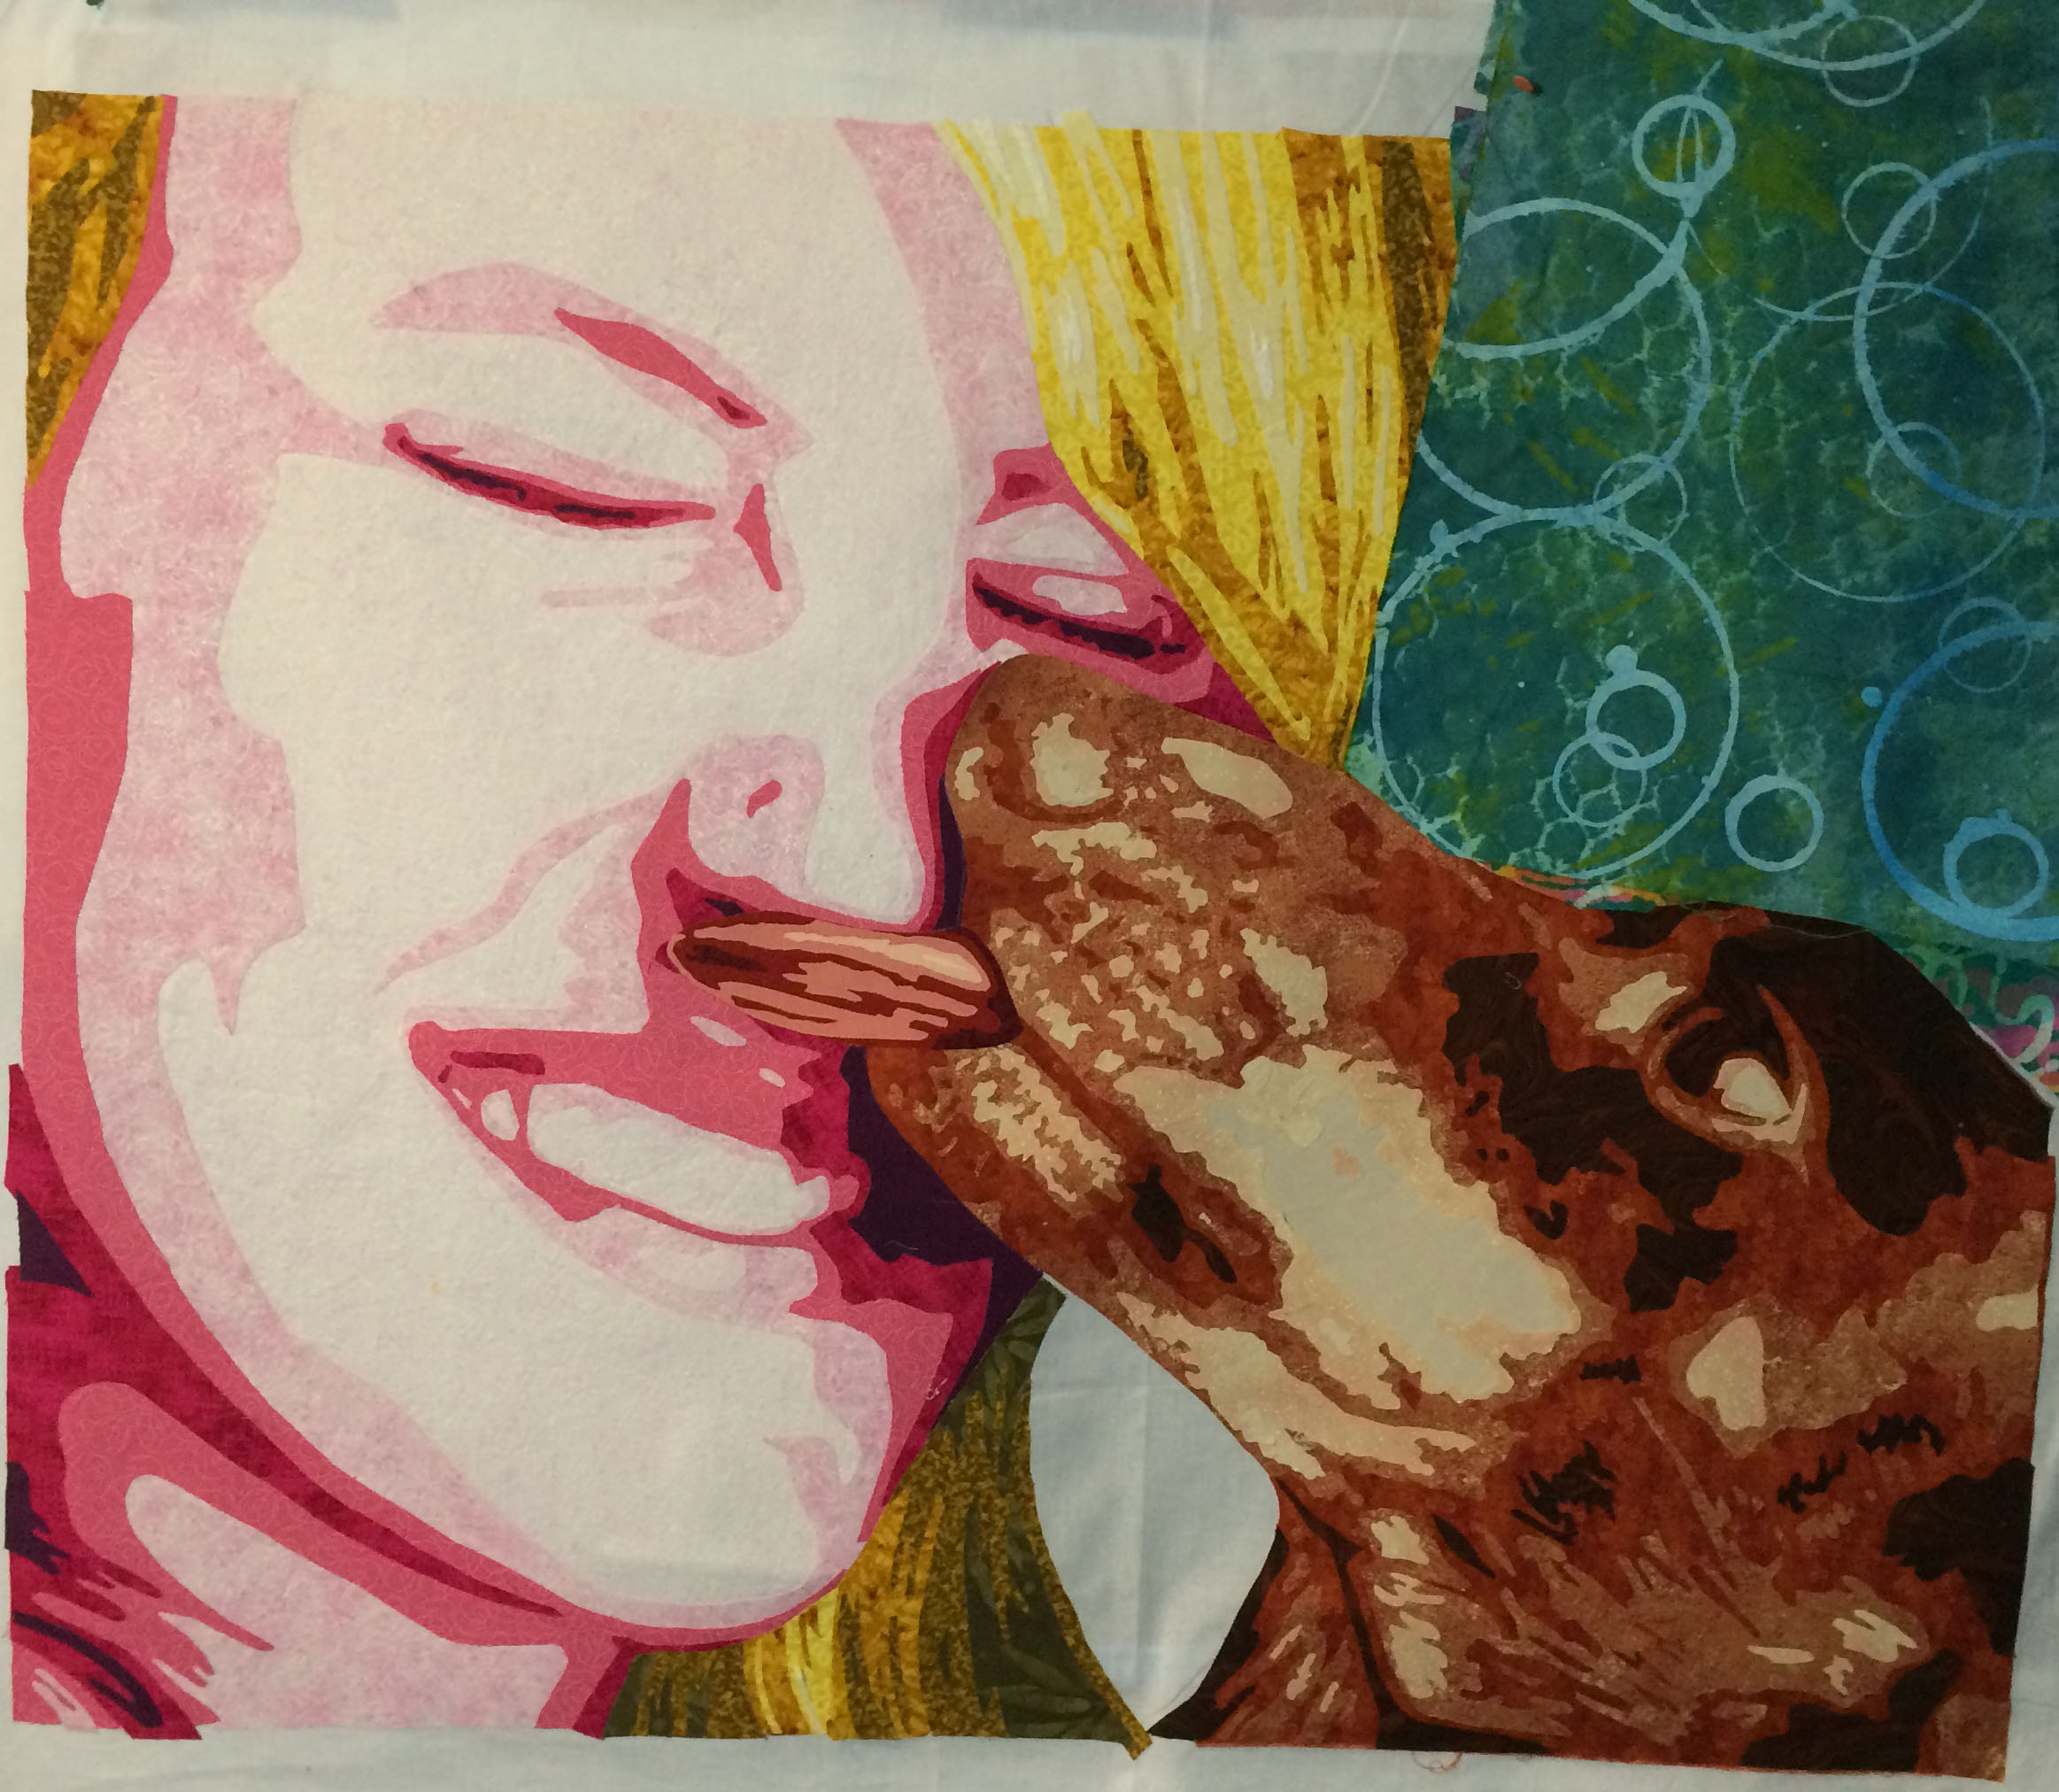
We made mouths
Buy both courses and receive 25% discount on the second course.

August 13 – Brigham City Museum, Brigham City, Utah.
- Introduction to Thread Painting 1/2-day workshop,12:00-3:00 PM.
- Gallery Gala, 6:00-8:00 PM. Artists talks and time to chat

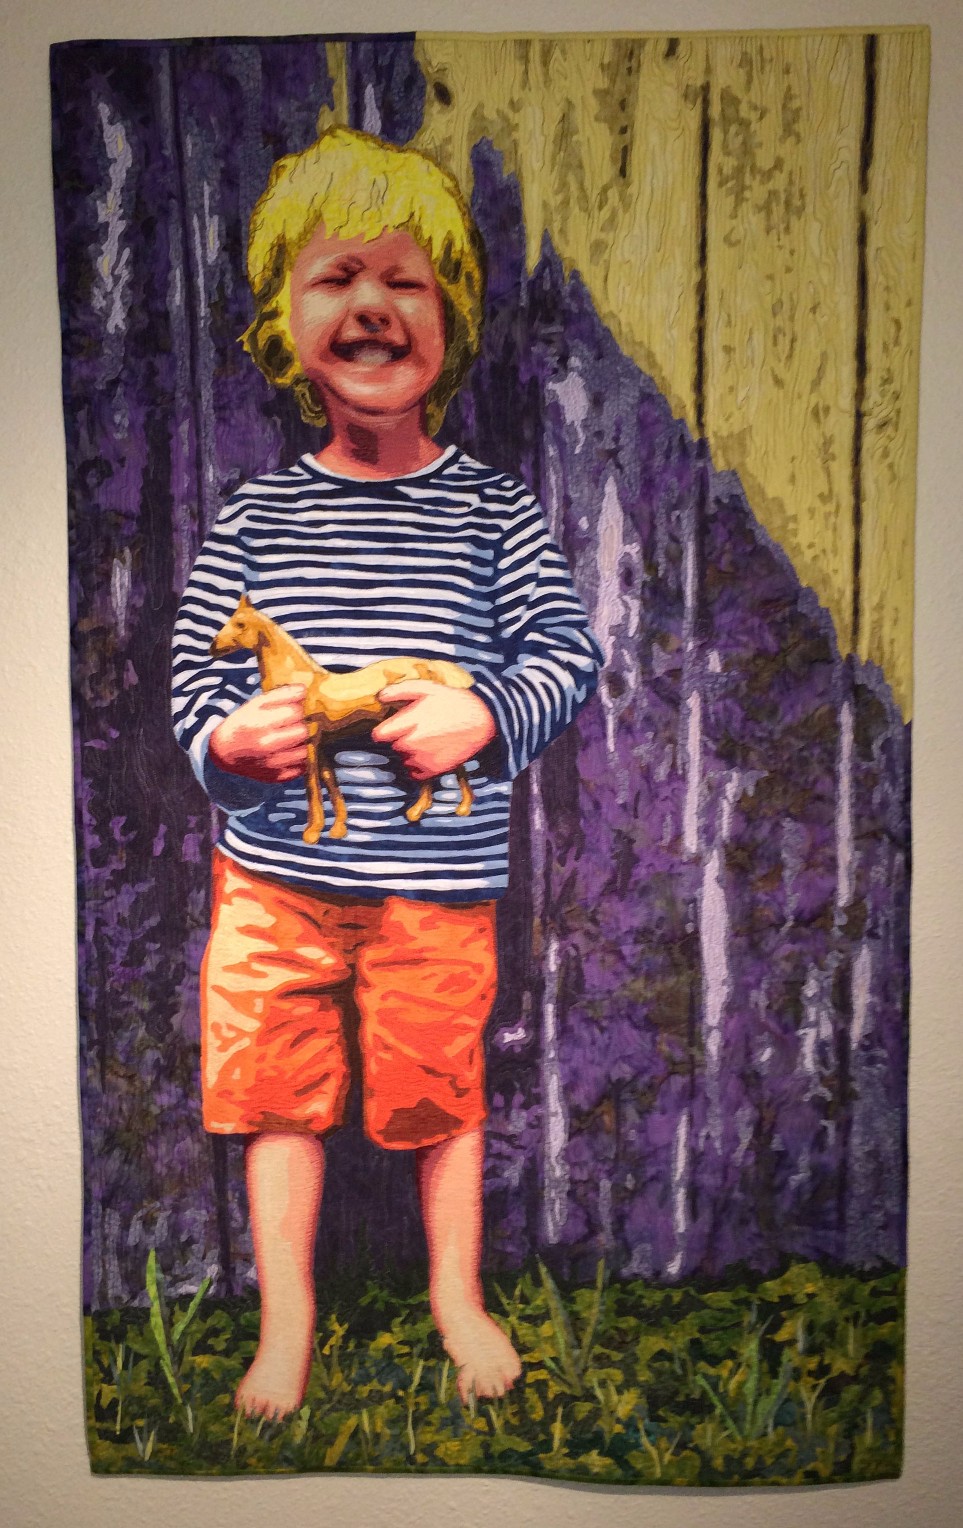
Jo’s Self portrait
September 30-October 2, 2016 – Quilt & Fiber Arts Festival, LaConner Quilt & Textile Museum, LaConner, Washington
- Preview Party, September 29
- “Fused Applique Portrait Quilts” – 2 Day Workshop; Friday, Sept. 30 & Saturday, Oct. 1, 2016
- “Thread Painted Portraits” – Sunday, Oct. 2, 2016
October 15-16, Jukebox Quilts Store, Fort Collins, Colorado

Portraits on Parade
“Portrait Quilt Workshop” Sat-Sun, October 15-16, 2016. Call (970) 224-9975 for more information.
January 19-22, 2017, Road to California Quilter’s Conference, Ontario, California
- Thread Painted Portraits 2-day workshop, Thur-Fri, Jan 19-20
- Fused Applique Portraits, 2-day workshop, Sat-Sun, Jan 21-22

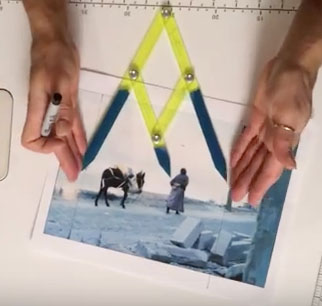
Blue dog in progress